Modification notes |
31.08.2018 | Work procedure revised, method adapted, picture representation added, special tools added | Operation steps 1 to 49 | |
31.08.2018 | Socket wrench socket 001 589 65 09 00 inserted | Operation step 1 | AR27.00-D-0200-01B |
31.08.2018 | Work procedure revised | Operation steps 1 to 6 | AR27.00-D-0200-01B |
31.08.2018 | Work procedure revised, special tools added | Operation steps 1 to 12 | AR27.20-D-0100-01W |

Shown on model 906 without code XM0 (Facelift) with code JD1 (Tachograph with digital technology) |
1 | Rear engine support |
2 | Engine mount |
3 | Automatic transmission |
4 | Support plate |
5 | Tensioning strap |
6 | Motor |
7 | Wooden block |
B6/12 | Rpm sensor (with code J19 (Tachograph 1 day/2 driver automatic (EU)) or code JD1 (Tachograph with digital technology) or code JD2 (EU digital tachograph with rotational speed + additional recorder)) |
D27.10-1144-06

8 | Bracket |
9 | Bolts |
10 | Diesel particulate filter |
D27.10-A000-06
Danger | Risk of death caused by vehicle slipping or toppling off of the lifting platform. | Align vehicle between vehicle lift columns and position the four support plates at the vehicle lift support points specified by the vehicle manufacturer. | |
Caution | Risk of injury caused by scraping or cutting body parts on sharp vehicle parts | Always wear protective gloves when working on or near sharp and non-deburred vehicle parts. | |
Caution | Risk of injury to skin and eyes due to handling of transmission oil. Health risk caused by swallowing transmission oil | Wear protective gloves, protective clothing and safety glasses. | |
Topical note | Notes on self-locking nuts and bolts | ||
Notes on automatic transmission | |||
| Remove | ||
1 | Connect vehicle diagnosis system and transfer data from electrohydraulic controller unit to vehicle diagnosis system. | If electrohydraulic controller unit or automatic transmission (3) is replaced. | |
| Connect STAR DIAGNOSIS and read out fault memory | ||
2 | Move selector lever to "P" position. | ||
3 | Detach ground line of on-board electrical system battery. | ||
4 | Raise vehicle. | ||
5 | Remove filler pipe upper part. |
| |
6 | Remove filler pipe lower part. | If automatic transmission (3) is replaced or if repair work is carried out on the automatic transmission (3). | |
Transmission 722.9 in model 906Transmission with guide tube for oil dipstick | |||
7 | Remove auxiliary oil pump. | If automatic transmission (3) is replaced or if repair work is carried out on the automatic transmission (3). | |
Transmission 722.9 in model 906 | |||
8 | Drain transmission oil from torque converter and oil pan. | If automatic transmission (3) is replaced or if repair work is carried out on the automatic transmission (3). | |
| |||
Commercially available devices/tools | |||
Drain screw on oil pan | |||
Drain screw to torque converter | |||
Transmission 722.9 in model 906 with engine 642 | |||
Transmission 722.9 in model 906 with engine 651 | |||
Transmission 722.9 in model 906 with engine 651 | |||
Drift | |||
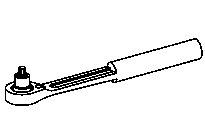
Ratchet box wrench | |||
9 | Remove holder (8) of diesel particulate filter (10). | To do this, remove bolts (9) . | |
10 | Remove oil lines at automatic transmission (3). | ||
Seal connections. Collect escaping transmission oil. | |||
Commercially available devices/tools | |||
Record plug | |||
11 | Disconnect electrical connector at auxiliary oil pump and expose electrical wiring harness. | If the auxiliary oil pump is installed. | |
Transmission 722.9 in model 906 | |||
12 | Disconnect electrical connector at automatic transmission (3) and expose electrical wiring harness. | ||
13 | Remove torque converter from drive plate. | ||
Turn crankshaft in direction of engine rotation until screws of torque converter are accessible through opening in transmission housing. | |||
Transmission 722.9 in model 906 with engine 642 | |||
Transmission 722.9 in model 906 with engine 651 | |||
Transmission 722.9 in model 906 with engine 651 | |||
14 | Remove propeller shaft. | ||
15 | Remove speed sensor (B6/12) at automatic transmission (3) and expose electric line. |
| |
16 | Unhook selector lever shift cable from automatic transmission (3). | ||
17 | Lift automatic transmission (3) using major assembly mount and mounting plate (4) until rear engine mount (2) is relieved of load. | ||
| 000 588 10 62 00 Support plate | ||
| 000 588 11 62 00 Major assembly mount | ||
Place suitable wooden block between automatic transmission (3) and mounting plate (4). | |||
18 | Support engine (6) at integral carrier above front axle spring using a suitable wooden block (7) and lower automatic transmission (3). | ||
19 | Remove rear engine carrier (1) together with engine mount (2). |
| |
Transmission 722.9 in model 906 with engine 651 | |||
20 | Remove screws of automatic transmission (3). | Do not yet remove a screw on upper side of automatic transmission (3). The screw must remain in the transmission housing for securing. The bolts have different shank lengths. Mark their installation locations. | |
Transmission 722.9 in model 906 with engine 642 | |||
21 | Support automatic transmission (3) with major assembly support and mounting plate (4) and secure with tensioning strap (5). | ||
| 000 588 11 62 00 Major assembly mount | ||
| 000 588 10 62 00 Support plate | ||
Commercially available devices/tools | |||
22 | Remove automatic transmission (3). | | |
To do so, remove last screw on upper side of automatic transmission (3). | |||
23 | Remove torque converter. | If automatic transmission (3) is replaced or if repair work is carried out on the automatic transmission (3). | |
Transmission 722.9 in model 906 with engine 642 | |||
Commercially available devices/tools | |||
| Check | ||
24 | Check radial shaft sealing ring of oil pump. | If the torque converter was removed. | |
If a leak or damage is present, | |||
| |||
replace radial shaft sealing ring of oil pump. | |||
25 | Check threaded inserts in drive plate for damage and loose seat. | If corresponding findings are present, | |
| |||
Replace drive plate. | |||
| |||
| |||
| Install | ||
26 | Insert torque converter. | If the torque converter was removed. | |
Transmission 722.9 in model 906 with engine 642 | |||
| |||
| |||
Commercially available devices/tools | |||
Transmission 722.9 in model 906 with engine 642 | |||
Multi-purpose paste | |||
Parallel rest | |||
27 | Install automatic transmission (3) and secure with a screw at the top side of transmission. | Bolt, transmission housing to engine | |
28 | Remove tensioning strap (5) and slightly lower major assembly mount with mounting plate (4). | ||
| 000 588 10 62 00 Support plate | ||
| 000 588 11 62 00 Major assembly mount | ||
Commercially available devices/tools | |||
29 | Attach automatic transmission (3) to engine (6). | Note different shank lengths of bolts. Do not yet screw in screws (9) of holder (8). | |
Bolt, transmission housing to engine | |||
30 | Attach torque converter to drive plate. | ||
Topical note | Notes on threaded connections fastened using a tightening angle-based tightening process | ||
Turn crankshaft in direction of engine rotation until respective screws of torque converter are accessible through opening in transmission housing. | |||
Bolt, torque converter to drive plate or drive star | |||
Long wedge | |||
Transmission 722.9 in model 906 with engine 642 | |||
Transmission 722.9 in model 906 with engine 651 | |||
Transmission 722.9 in model 906 with engine 651 | |||
31 | Install auxiliary oil pump. | If the auxiliary oil pump was removed. | |
Transmission 722.9 in model 906 | |||
Do not yet connect the electrical connector of the auxiliary oil pump. | |||
32 | Install filler pipe lower part. | If automatic transmission (3) was replaced or if repair work was carried out on automatic transmission (3). | |
Transmission 722.9 in model 906Transmission with guide tube for oil dipstick | |||
Bolt, filler pipe to transmission housing | |||
33 | Install filler pipe upper part. |
| |
Bolt, filler pipe to bracket | |||
Bolt, filler pipe to cylinder head | |||
34 | Hook selector lever shift cable into automatic transmission (3). | ||
Long-life grease | |||
35 | Attach oil lines at automatic transmission (3). | ||
Bolt, oil line to transmission housing | |||
Bolt, dual clamp to oil line | |||
Record plug | |||
36 | Install holder (8) of diesel particulate filter (10). | To do so, screw in screws (9). | |
Transmission 722.9 in model 906 with engine 642Bolt, diesel particulate filter to transmission bracket | |||
Transmission 722.9 in model 906 with engine 651Nut/bolt, bracket to front exhaust system | |||
Bolt, bracket to transmission | |||
Bolt, transmission housing to engine | |||
37 | Connect electrical connector to auxiliary oil pump and secure electrical wiring harness. |
| |
Observe installation position of electrical wiring harness. | |||
38 | Connect electrical connector to automatic transmission (3) and secure electrical wiring harness at filler pipe. | ||
Observe installation position of electrical wiring harness. | |||
Bolt, heat shield to transmission housing | |||
39 | Attach speed sensor (B6/12) at automatic transmission (3) and secure electric line at automatic transmission (3). |
| |
Replace lead seal. | |||
Transmission 722.9 in model 906.1/2/6/7 with engine 642 | |||
40 | Install propeller shaft. | ||
41 | Slightly lift automatic transmission (3) with major assembly mount and mounting plate (4). | ||
| 000 588 11 62 00 Major assembly mount | ||
| 000 588 10 62 00 Support plate | ||
42 | Install rear engine carrier (1) together with engine mount (2). |
| |
Transmission 722.9 in model 906 with engine 651 | |||
43 | Remove wooden block (7) for supporting engine (6) and lower automatic transmission (3). | ||
44 | Remove oil pan of automatic transmission (3), attach oil suction pipe and reinstall oil pan. | If transmission oil was drained from oil pan. | |
45 | Lower vehicle. | ||
46 | Attach ground line of on-board electrical system battery. | ||
47 | Transfer stored data from vehicle diagnosis system into new electrohydraulic controller unit. | If automatic transmission (3) or electrohydraulic controller unit was replaced. | |
| Connect STAR DIAGNOSIS and read out fault memory | ||
48 | Check and correct oil level in automatic transmission(3). |
| |
Transmission 722.9 in model 906Transmission without guide tube for oil dipstick | |||
Warning | Risk of accident from vehicle starting off by itself when engine running. Risk of injury (bruises and burns) resulting from working on the engine while it is being started or when it is running. | Secure vehicle to prevent it from starting off by itself. Wear closed and snug-fitting work clothes. Do not touch hot or rotating parts. | |
49 | Carry out engine test run and check leak tightness of automatic transmission (3). | Visual inspection only. |

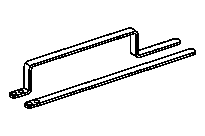
126 589 04 31 00
Parallel rest
906 589 00 03 00
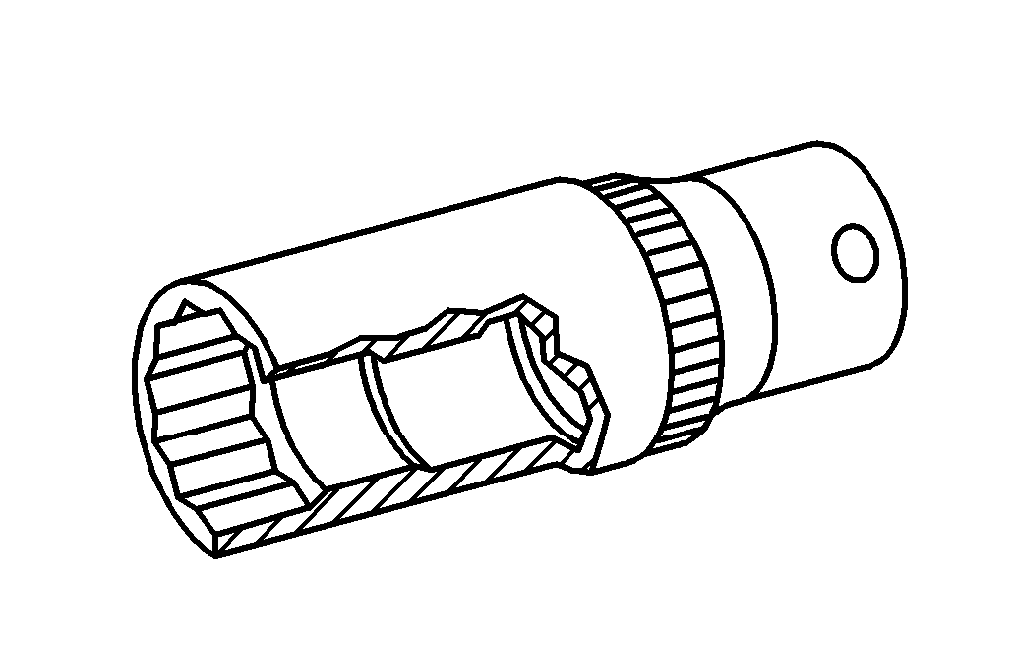
Ratchet box wrench
001 589 65 09 00
Socket wrench bit
651 589 08 40 00
Counterholder


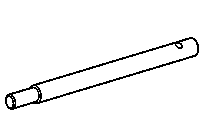
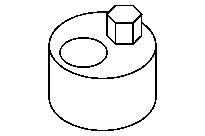
115 589 03 59 00
Long wedge
129 589 00 91 00
Record plug
722 589 03 15 00
Drift
651 589 00 40 00
Counterholder
เอกสารที่อ้างถึง
- ad0000d200004sd
- ah0000n000101a
- ah0000p002001a
- ah2719p000101nkb
- ah2719p000101nkb
- ar0060d1000h
- ar0330d8003we
- ar0330s8003se
- ar2210d1170sd
- ar2210d1170we
- ar2700d0101we
- ar2700d020001b
- ar2700d0270we
- ar2710d050004w
- ar2710d050201w
- ar2710d7030we
- ar2719d075001we
- ar2720d010001w
- ar2720d050001ts
- ar2730d0651we
- ar2740d0300we
- ar2760d010002we
- ar4110d0050h
- ar5410d0003sd
- ar5461d550001a
- as0000z000501a
- as0000z001001a
- as0000z001701a
- as0040z000101a
- ws0100p0092b
- ws2600p3309b