
1 | Rear axle carrier |
3l | Left brake cable |
3r | Right brake cable |
4 | Oil line (return line) |
5 | Oil line (suction line) |
10 | Rear wheel |
20 | Propeller shaft |
42 | Brake caliper |
49 | Exhaust system |
50 | Rear axle gear |
M75 | Rear axle differential cooling circuit oil pump |
P35.10-2340-06

1 | Rear axle carrier |
1h | Screw |
1v | Screw |
2 | Connector strip |
7 | Underfloor paneling |
32 | Suspension strut |
42 | Brake caliper |
50 | Rear axle gear |
P35.10-2341-12
Caution | Risk of injury to skin and eyes due to handling of transmission oil. Health risk caused by swallowing transmission oil | Wear protective gloves, protective clothing and safety glasses. | |
Danger | Risk of death caused by vehicle slipping or toppling off of the lifting platform. | Align vehicle between vehicle lift columns and position the four support plates at the vehicle lift support points specified by the vehicle manufacturer. | |
Topical note | Notes on threaded connections fastened using a tightening angle-based tightening process | ||
Topical note | Notes on self-locking nuts and bolts | ||
Notes on repair work on suspension components | |||
| Remove | ||
1 | Remove battery . | ||
2 | Remove cover panel and unhook left brake cable (3l) and right brake cable (3r) at intermediate lever and at intermediate lever housing. | The cover panel is located under the battery. | |
Dismantling tool | |||
3 | Secure vehicle on vehicle lift. | ||
4 | Remove rear wheels (10). | ||
| |||
5 | Remove exhaust system (49) as of separating point and take out. | ||
6 | Loosen underfloor paneling (7) at rear. | Unscrew rear four nuts of the corresponding underfloor paneling (7) and press underfloor paneling (7) downward slightly. | |
7 | Remove propeller shaft (20) from rear axle differential (50). | ||
Tie propeller shaft (20) to one side and secure against falling down. The flex disk remains on the propeller shaft (20). | |||
8 | Loosen pilot bushing of flex disk at flange of rear axle differential (50). | ||
| Drift for releasing the fitting sleeves in the flexible couplings | ||
9 | Remove brake caliper (42) with attached brake hoses and hang free of tension to one side. | ||
10 | Remove torsion bar from rear axle. | ||
The torsion bar linkages remain on the wheel carriers. | |||
11 | Remove suspension struts (32) from spring links. | ||
12 | Disconnect electrical connectors of locking differential cooling circuit oil pump (M75) and of locking differential cooling circuit temperature switch and guide electric lines carefully through the rear axle carrier (1). | ||
13 | Remove locking differential cooling circuit oil pump (M75) from underbody and longitudinal member of rear axle carrier (1). | ||
14 | Unclip electrical connectors from connector strip (2). | ||
15 | Disconnect oil lines (4, 5) at connections to the oil cooler and seal with stop plugs. | ||
Secure oil lines (4, 5) using a cable strap at the carriers of the locking differential cooling circuit oil pump (M75). | |||
Record plug | |||
16 | Support rear axle with transmission plate and secure with tensioning strap to prevent it from falling down. | Assembly support | |
17 | Unscrew screws (1h, 1v) of rear axle carrier (1). | | |
18 | Lower rear axle. | ||
19 | Check, whether cavity preservation was performed on the rear axle carrier. | If not, | |
| |||
perform cavity preservation. | |||
| 000 588 01 72 00 Sealing and corrosion protection gun | ||
Cavity preservation (free of solvents), 1 liter | |||
| Install | ||
20 | Position rear axle at lay-on points. | ||
21 | Tighten screws (1h, 1v) of rear axle carrier (1). | | |
Recut thread in frame floor assembly and blow out with compressed air. | |||
Use new screw and new washer at torsion bar mounts. | |||
Self-locking bolt, front rear axle carrier rubber bushing to frame floor | |||
Self-locking bolt, rear axle carrier rear rubber bushing to frame floor | |||
22 | Loosen tensioning strap and remove transmission plate. | ||
23 | Remove stop plugs and attach oil lines (4, 5) to oil cooler. | ||
Replace locking clips and sealing rings of oil lines (4, 5). | |||
24 | Clip in electrical connectors to connector strip (2). | ||
25 | Attach locking differential cooling circuit oil pump (M75) to underbody and longitudinal member of rear axle carrier (1). | ||
26 | Guide electric line of locking differential cooling circuit oil pump (M75) and of locking differential cooling circuit temperature switch through rear axle carrier and connect electrical connector. | ||
27 | Attach suspension struts to spring links (32) and tighten screws lightly by hand. | Fasten screws of the suspension struts (32) at the spring links only after the wheel alignment measurement. | |
Self-locking nut for attaching shock absorber to spring control arm | |||
28 | Attach torsion bar to rear axle. | ||
29 | Attach brake calipers (42). | ||
30 | Guide in pilot bushing of flex disk at flange of rear axle differential (50). | ||
31 | Attach propeller shaft (20) to rear axle differential (50). | ||
Replace nuts. | |||
Self-locking nut, flexible coupling to rear propeller shaft or rear axle differential | |||
Torque wrench | |||
32 | Attach rear underfloor paneling (7). | ||
33 | Install exhaust system (49). | ||
34 | Mount rear wheels. | ||
| |||
35 | Remove vehicle lift safety device. | ||
36 | Hook in left brake cable (3l) and right brake cable (3r) at the intermediate lever and the intermediate lever housing and attach cover panel. | ||
37 | Install battery. | ||
| Check | ||
38 | Check and correct oil level in rear axle differential(50). | Model 209 | |
Model 209.377 | |||
Model 209.377 | |||
Model 209.377 | |||
Model 209.377 | |||
Sealant, Omnifit 100H (50 g) | |||
Loctite 7063 (400 ml) cleaning spray | |||
Assembly cleaner | |||
Electrical connection kit | |||
Record plug | |||
| Measure | ||
39 | Perform chassis alignment. |


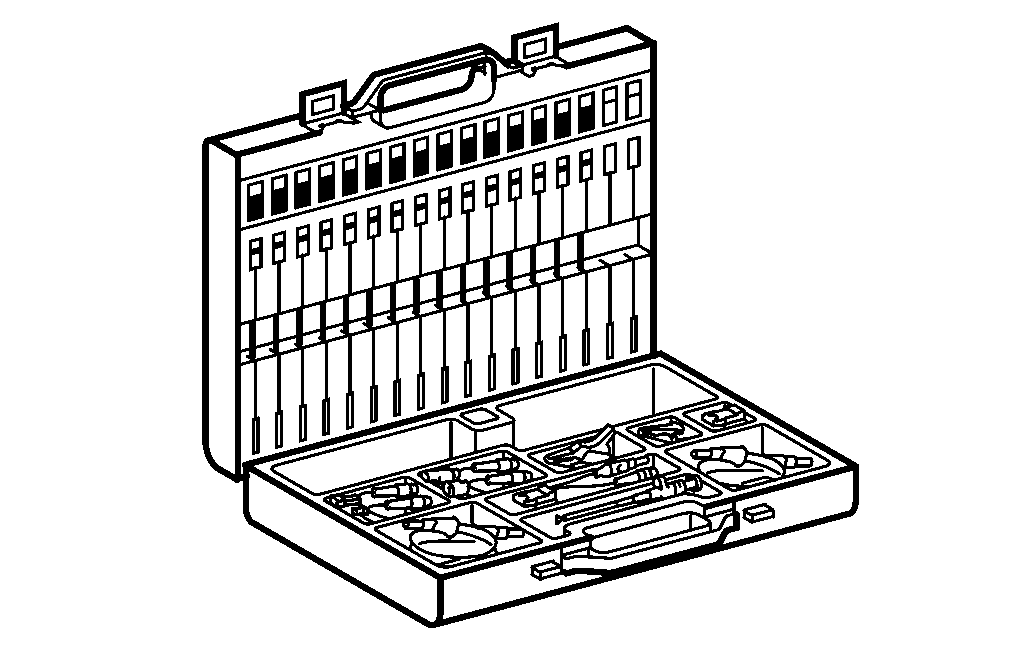

001 589 66 21 00
Torque wrench
129 589 00 91 00
Record plug
220 589 05 99 00
Electrical connection kit
000 589 95 63 00
Dismantling tool

140 589 01 62 00
Assembly support
Repair materials |
Number | Designation | Order number |
BR00.45-Z-1003-05A | Cavity preservation (free of solvents), 1 liter | A 000 986 72 70 10 |
BR00.45-Z-1028-04A | Assembly cleaner | A 000 986 56 01 |
BR00.45-Z-1046-04A | Loctite 7063 (400 ml) cleaning spray | A 001 986 71 71 09 |
BR00.45-Z-1061-01A | Sealant, Omnifit 100H (50 g) | A 002 989 23 71 |
Powiązane dokumenty
- ah0000n000101a Wskazówki dotyczące samozabezpieczających śrub i nakrętek
- ah0000p002001a Wskazówki dotyczące połączeń śrubowych tworzonych według kąta dokręcenia
- ah0000p010001a Wskazówki dotyczące napraw komponentów zawieszenia
- ap4010p4050z Demontaż i montaż kół, w razie potrzeby przełożenie
- ar0060p0100t Zabezpieczanie pojazdu na podnośniku
- ar3220p0315p Demontaż i montaż drążka skrętnego osi tylnej
- ar3510p001003a Konserwacja profili zamkniętych we wsporniku osi tylnej
- ar3531p052003qbs Sprawdzanie, w razie potrzeby korekta poziomu oleju w główce tylnego mostu
- ar3531p059201qbs Odłączanie i podłączanie przewodów chłodzenia oleju główki tylnego mostu
- ar3531p0595qbs
- ar4020p0200p Przeprowadzanie pomiarów podwozia
- ar4110p005003ea Odłączanie tylnego wału napędowego od główki tylnego mostu
- ar4110p005004ea Montaż tylnego wału napędowego do główki tylnego mostu
- ar4110p005009da Luzowanie tulei pasowanych tarcz przegubowych
- ar4210p0080ac
- ar4910p7000ac Demontaż i montaż kompletnego układu wydechowego
- ar5410p0005p Demontaż i montaż akumulatora
- ar5410p0005p
- as0000z001001a Zagrożenie życia na skutek ześlizgnięcia lub spadnięcia pojazdu z podnośnika.
- as0040z000101a Niebezpieczeństwo obrażeń skóry i oczu podczas kontaktu z olejem przekładniowym. Zagrożenie dla zdrowia na skutek połknięcia oleju przekładniowego
- wf5850p411001a Trzpień do luzowania tulei pasowanych w tarczach przegubowych
- wf5850p411001a
- ws9700n0002b