
W07.16-1090-09
1 | Fuel system high pressure pump | 5 | Coolant line | 9 | Power steering pump | ||
2 | Electrical connector | 6 | Compressor | Y642 | Quantity control valve | ||
3 | Bracket | 7 | Bracket | ||||
4 | Engine wiring harness | 8 | High pressure pipe |
Danger | Risk of explosion caused by fuel igniting. Risk of injury to skin and eyes caused by fuel spraying out at high pressure | Keep all ignition sources out of hazard area. | |
Danger | Risk of explosion caused by fuel igniting, risk of poisoning caused by inhaling and swallowing fuel as well as risk of injury to eyes and skin caused by contactwith fuel. | No fires, sparks, open flames or smoking. Pour fuels into suitable and appropriately marked containers only. | |
Warning | Risk of accident from vehicle starting off by itself when engine running. Risk of injury (bruises and burns) resulting from working on the engine while it is being started or when it is running. | Secure vehicle to prevent it from starting off by itself. Wear closed and snug-fitting work clothes. Do not touch hot or rotating parts. | |
Warning | Risk of injury to skin and eyes suffering scalding from contact with hot coolantspray. Risk of poisoning from swallowing coolant. | Do not open cooling system unless coolant temperature is below 90 °C. Open cap slowly and release the pressure. Do not pour coolant into beverage containers. | |
Topical note | Notes on self-locking nuts and bolts | ||
Topical note | Notes on avoiding damage through contamination and foreign objects | ||
Notes on safety-relevant components | |||
| Remove | ||
1 | Drain off coolant. | ||
2 | Clean engine in the area of the fuel high-pressure pump (1) and the fuel filter module. | ||
3 | Remove resonator box. | ||
4 | Remove air intake line from compressor (6) and place to one side. | ||
5 | Remove high-pressure line (8) to the rail. | ||
6 | Remove power-steering pump (9) and place to one side. | Only for engine 471.9 with power-steering pump on timing case | |
Do not disconnect the lines of the power steering pump (9) in the process. | |||
7 | Remove fuel filter module. | ||
8 | Mount turning device onto timing case. | ||
Bolt, turning device to timing case | |||
Turning device | |||
9 | Place engine on top dead center of cylinder 1 and engage. | ||
Drift | |||
Turning device | |||
10 | Remove coolant line (5) from compressor (6) and from crankcase. | Collect escaping coolant using suitable vessel. | |
11 | Disconnect electrical connector (2) from quantity control valve (Y642). | ||
12 | Expose engine wiring harness (4) on bracket (3). | ||
13 | Remove the bracket (3). | ||
14 | Remove fuel high-pressure pump(1). | To lift out the engine wiring harness, press (4) with holder (7) to the side. | |
15 | Check gearwheel of the fuel system high pressure pump (1) for damage. | ||
If the gearwheel is damaged, | |||
| |||
also check the mating gear in the crankcase for damage and replace if necessary. | |||
16 | Pull out drift for engaging the engine on the timing case. | Only if the gear of the fuel system high pressure pump (1) is damaged. | |
Drift | |||
17 | Turn engine with attached turning device through exactly two full revolutions and check mating gear in the crankcase for damage. | Only if the gear of the fuel system high pressure pump (1) is damaged. | |
Turning device | |||
18 | Again, engage engine in TDC for cylinder 1 with drift on the timing case. | Only if the gear of the fuel system high pressure pump (1) is damaged. | |
After exactly two full revolutions (2 x 360°), the engine is again in TDC for cylinder 1. | |||
Drift | |||
19 | Remove gearwheel of the fuel system high pressure pump (1). | Only if the fuel system high pressure pump (1) or the gear is renewed. | |
| Clean | ||
20 | Clean all sealing surfaces on the fuel system high pressure pump (1) and on the crankcase. | ||
| Install | ||
21 | Install gearwheel of the fuel system high pressure pump (1). | Only if gear was removed. | |
22 | Install fuel high-pressure pump(1). | ||
| |||
Push bracket (7) and engine wiring harness (4) to the side. | |||
Screw, fuel high-pressure pump to crankcase | |||
23 | Install bracket (3). | Lead in a new cable tie before installing bracket (3). | |
Screw/nut, holder to fuel high-pressure pump | |||
Screw, fuel high-pressure pump holder to crankcase | |||
24 | Attach engine wiring harness (4) to the bracket (3). | ||
25 | Connect electrical connector (2) to the quantity control valve (Y642). | ||
26 | Attach coolant line (5) to the compressor (6) and crankcase. | ||
27 | Remove turning device from timing case. | ||
Screw/bolt, cap of TDC inspection hole to timing case | |||
28 | Pull out drift for engaging the engine on the timing case. | ||
29 | Install crankshaft position sensor and connect electrical plug. | Replace O-ring. | |
Bolt, crankshaft position sensor to timing case | |||
30 | Install fuel filter module. | ||
31 | Attach power-steering pump (9). | Only for engine 471.9 with power-steering pump on timing case | |
Screw/bolt, power steering pump to control housing | |||
32 | Install high-pressure line (8) to the rail. | ||
33 | Attach air intake line to the compressor (6). | ||
34 | Install resonator box. | ||
35 | Add coolant. | ||
36 | Fill fuel low-pressure circuit on engine. | ||
37 | Connect vehicle diagnosis system, start diagnosis, and perform quick test. | Only if the fuel system high pressure pump (1) was replaced. | |
See information from body manufacturer. | |||
38 | Reset "adaptation range for quantity control valve". | Only if the fuel system high pressure pump (1) was replaced. | |
The process is completely menu-assisted under: | |||
39 | End diagnosis and remove vehicle diagnosis system. | Only if the fuel system high pressure pump (1) was replaced. | |
See information from body manufacturer. | |||
40 | Start engine and perform an engine test run. | Allow the engine to run at a higher engine speed. | |
If engine fails to start or only runs for a brief period, | |||
| |||
Fill fuel low-pressure circuit again. | |||
41 | Switch off engine and check area of the fuel system high pressure pump (1), fuel filter module, and coolant line (5) for leak tightness. | Visual inspection. |

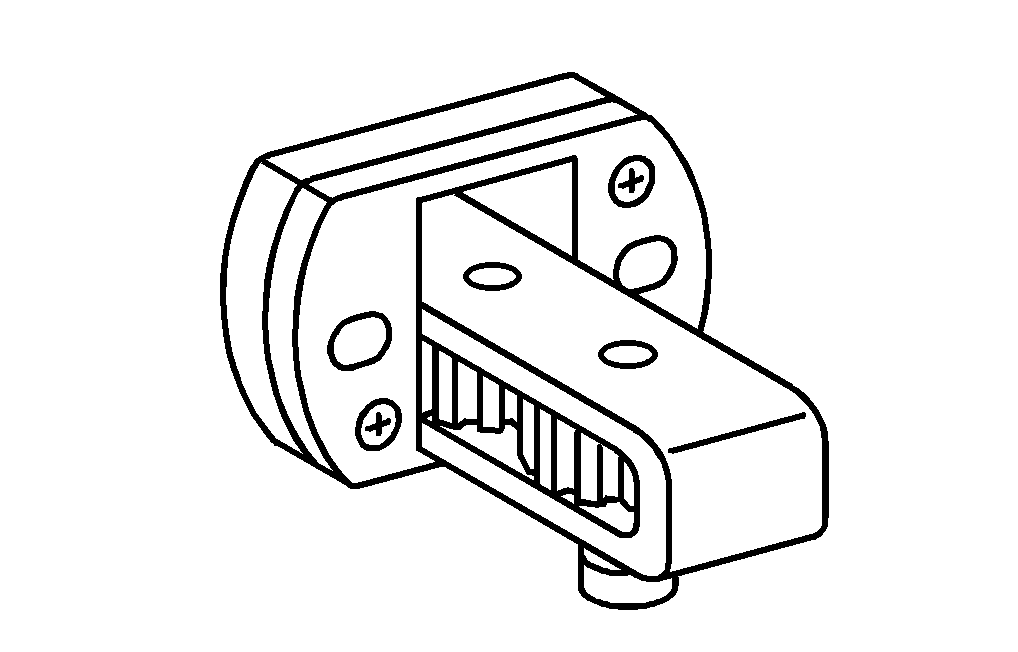
470 589 00 15 00
Drift
904 589 04 63 00
Turning device
Odkazované dokumenty
- ah0000n000101a Upozornění k samopojistným šroubům a maticím
- ah0000n500001h Upozornění k zamezení poškozením kvůli znečistění a výskytu cizích těles
- ah0000z001901a Pokyny k bezpečnostním součástem
- ar0330g160003n
- ar0510g4660n
- ar0716g1004n
- ar0716g1006n
- ar0716g1007n
- ar0716w100501h Montáž vysokotlakého palivového čerpadla
- ar0716w100502h Nastavení motoru na HÚ 1. válce a jeho aretace v této poloze
- ar1310g5840n
- ar2000g1142n
- ar4630g050002n
- ar4720g5511n
- as0000z000501a Nebezpečí úrazu při samovolném rozjetí vozidla při běžícím motoru. Nebezpečí poranění pohmožděním a popálením při výkonech prováděných během startování nebo při běžícím motoru
- as0716z000101b Nebezpečí výbuchu při vznícení paliva. Nebezpečí poranění kůže a očí vytékajícímpaprskem paliva
- as2000z000101a Nebezpečí poranění kůže a očí opařením vystřikující, horkou chladicí kapalinou. Nebezpečí otravy při požití chladicí kapaliny
- as4700z000101a Nebezpečí výbuchu při vznícení, nebezpečí otravy při vdechnutí a požití paliva inebezpečí úrazu v důsledku přímého doteku kůže a očí s palivem