
1 | Injection unit |
2 | O-ring (black) |
3 | O-ring (green or brown) |
4 | O-ring |
5 | Screws |
6 | Injection pipe |
7 | Electric wires |
B07.15-1084-06

1 | Injection unit |
2 | O-ring (black) |
3 | O-ring (green or brown) |
4 | O-ring |
5 | Screws |
8 | Protective bushing for installing O-rings |
9 | Guides for installing the injection unit |
B07.15-1085-06
| Remove | ||
Danger | Risk of explosion caused by fuel igniting, risk of poisoning caused by inhaling and swallowing fuel as well as risk of injury to eyes and skin caused by contactwith fuel. | No fires, sparks, open flames or smoking. Pour fuels into suitable and appropriately marked containers only. | |
1 | Remove injection pipe (6) |
| |
Cover connections in the injection unit and injector holder. | |||
2 | Draining fuel from engine block gallery |
| |
Procedure necessary to avoid contamination by fuel and lubricating oil in the crankcase. | |||
3 | Clean with special attention to injection unit to be removed and the entire surrounding area | In case of removing more than one injection unit, identify them according to the corresponding cylinder. | |
4 | Mount the device to rotate the motor into the flywheel housing |
| |
Do not run the engine before removing the device. | |||
Turning device | |||
5 | Disconnect electrical cables (7) from injection unit (1) | When necessary, additionally remove the bracket with the engine start and shut off auxiliary buttons. | |
6 | Detach the injection unit (1) from its housing | | |
Loosen the screws approximately 6mm (5). | |||
Slowly rotate the crankshaft so that the camshaft cam push the injection unit (1) up. | |||
If the injection unit (1) is gripped (locked) in its housing, work properly with an appropriate lever on the side (arrow). | |||
7 | Completely loosen the screws (5) and carefully remove the injection unit (1) | ||
8 | Carefully remove O-rings (2, 3 and 4) from the injection unit (1) | Do not damage the O-rings channels in the injection unit. | |
| Check | ||
9 | Check injection unit (1) for damages | Scratches or stretch marks on the drive roller are permissible. However, if there are scratches, stretch marks or deep abrasion points, the injection unit should be replaced. | |
10 | Check the Drive Cam of the injection unit camshaft |
| |
Rotate the camshaft and inspect through the injection unit housing. | |||
If necessary, check the rising cam in the camshaft. | |||
| Install | ||
11 | Clean the body of the injection unit and the housing on the engine block | Observe the channels for O-rings in the body of the injection unit. | |
Use a clean lint-free cloth. | |||
Do not use burlap. | |||
12 | Replace the O-Rings in the injection unit and lightly apply grease to heat-resistant bearings |
| |
Only when reinstalling injection units which have already been serviced. | |||
Lightly grease the injection unit and engine block hole with heat resistant grease for bearings. | |||
High-temperature grease | |||
Sleeve | |||
13 | Rotate the crankshaft until the camshaft cam, corresponding to the unit to be installed, is positioned on the basic circle | ||
14 | Lightly oil the O-rings, the body of the injection unit and the inside of its housing in the engine block | Use engine oil. | |
15 | Install the guides (9) in the tapped holes for fixing the injection unit | ||
| Assembly pins for installing unit pump | ||
The guides prevent the O-rings (2 and 3) from being damaged by introducing the injection unit to the housing. | |||
16 | Enter the injection unit (1) in its housing, pushing it manually, overcoming the spring pressure | Up to a distance of approx. 4 mm before touching the block. | |
Using the supply duct (bushing) as reference for positioning the unit. | |||
17 | Install the bolts (5) | Remove the guides (9). | |
.Engine block injection unit | |||
18 | Connect electrical cables (7) to injection unit (1) | Install the bracket with the engine start and stop auxiliary buttons, in case they have been removed. | |
19 | Remove the engine turning device |
| |
Turning device | |||
20 | Bleed the fuel system | ||
| Bleed fuel system | . | |
Act on the handle of the hand primer pump until strong resistance is observed. | |||
21 | Mount the injection pipe (6) |
|
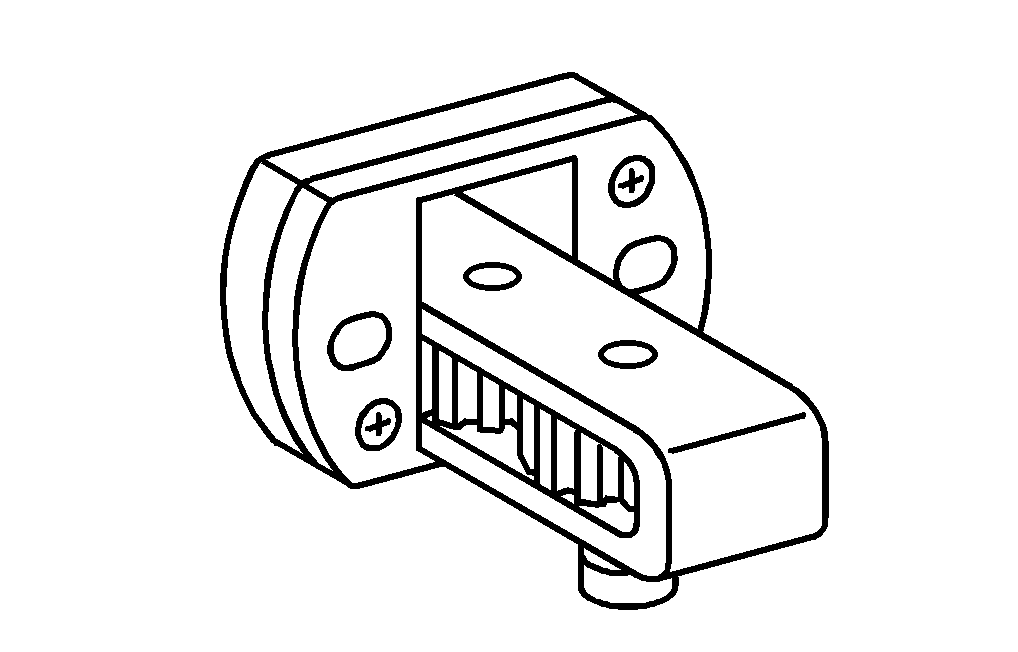

904 589 04 63 00
Turning device
904 589 03 14 00
Sleeve
Referenced documents
- ap4700b172001c Bleed fuel system
- ar0330b160003a Attach/detach cranking/blocking device for engine
- ar0520b629203a Inspect camshaft
- ar0715b895001tj Replace O-rings on the unit pump
- ar0715b895002a Drain fuel from crankcase
- ar0715b9235a Remove/install MR/PLD injection lines
- as4700z000101a Risk of explosion caused by fuel igniting, risk of poisoning caused by inhaling and swallowing fuel as well as risk of injury to eyes and skin caused by contactwith fuel.
- wf5850b071501a Assembly pins for installing unit pump