
W05.20-1063-08
1 | Intake camshaft | 3 | Rocker arm frame | 7 | Template | ||
2 | Exhaust camshaft | 6 | Gear | 8 | Control plunger |

W05.20-1049-09
3 | Rocker arm frame | 4 | Camshaft bearing halves | 5 | Cylinder head |
Danger ! | Risk of accident from vehicle starting off by itself when engine running. Risk of injury (bruises and burns) resulting from working on the engine while it is being started or when it is running. | Secure vehicle to prevent it from starting off by itself. Wear closed and snug-fitting work clothes. Do not touch hot or rotating parts. | |
Danger ! | Risk of injury caused by body parts being pinched or crushed as cab is tilted | Ensure that no one is within the tilting range of the cab as it is being tilted. Always tilt the cab all the way to the end position and secure with the safety strut. | |
| Notes on avoiding damage through contamination and foreign objects | ||
| Notes on tilting the cab | ||
| Remove | ||
1 | Tilt cab | ||
2 | Remove soundproofing | ||
3 | Remove cylinder head cover | ||
4 | Attach turning device to the flywheel housing | ||
Bolt, turning device to flywheel housing | |||
Turning device | |||
5 | Place engine at ignition TDC on cylinder 1 and lock | ||
The ignition TDC setting or catch must not be altered during the removal/installation of the intake camshaft (1) or exhaust camshaft (2). Perform operation steps again if necessary. | |||
Drift | |||
Template | |||
6 | Remove rocker arm frame (3) | ||
7 | Remove intake camshaft (1) or exhaust camshaft (2) | | |
| Check | ||
8 | Check camshaft bearing shells (4) on cylinder head (5) and in rocker arm frame (3) for wear and damage | Check camshaft bearing halves (4) by means of a visual inspection for wear, score marks or scratches. | |
9 | Check intake camshaft (1) or exhaust camshaft (2) for wear and damage | Check contact surfaces on intake camshaft (1) or exhaust camshaft (2) by means of a visual inspection for wear, score marks or scratches. | |
| Install | ||
10 | Install camshaft bearing halves (4) on cylinder head (5) | Only if new camshaft bearing halves (4) are replaced. | |
Observe different bearing widths and location of components of the oil holes for installation of the camshaft bearing halves (4). | |||
11 | Install intake camshaft (1) or exhaust camshaft (2) | | |
The bores on the gear (6) for intake camshaft (1) and exhaust camshaft (2) must match with the pins "" on the template (7). | |||
Template | |||
12 | Install camshaft bearing halves (4) on rocker arm frame (3) | Only if new camshaft bearing halves (4) are replaced. | |
Observe different bearing widths and location of components of the oil holes for installation of the camshaft bearing halves (4). | |||
13 | Install rocker arm frame (3) | ||
14 | Check valve clearance, adjust if necessary | ||
| |||
15 | Remove turning device at flywheel housing | ||
Bolt, TDC inspection hole cap to flywheel housing | |||
Turning device | |||
16 | Pull out drift to lock the flywheel and install crankshaft position sensor | Replace sealing ring. | |
Bolt, crankshaft position sensor to flywheel housing | |||
17 | Remove template (7) | ||
18 | Install cylinder head cover | ||
19 | Install soundproofing | ||
20 | Start engine and perform an engine test run | Allow engine to run at a higher rotational speed. | |
21 | Check area of cylinder head cover and the rocker arm frame (3) for leaktightness and stop engine | Visual inspection. | |
22 | Tilt back cab |
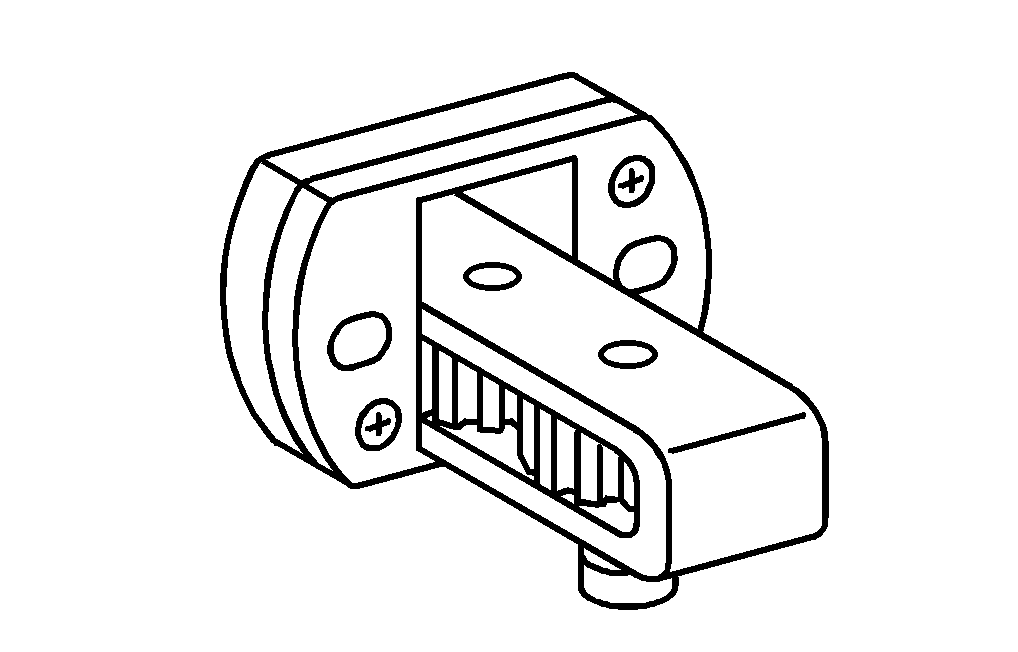


904 589 04 63 00
Turning device
936 589 00 15 00
Drift
936 589 00 23 00
Template
Henviste dokumenter
- ah0000n500001h Oplysninger om forebyggelse af skader på grund af snavs og fremmedlegemer
- ah6080n000301a Oplysninger om tipning af førerhus
- ap0530w0560md Indstilling af ventiltolerance
- ar0120w5014md
- ar0330w160003md
- ar0500w5551md
- ar0510w762003md
- as0000z000501a Fare for ulykke ved automatisk igangsætning når motoren kører. Fare for personskade på grund af knusning og forbrænding, hvis der arbejdes mens motoren startes eller kører
- as6080z000101a Fare for personskade ved fastklemning og knusning, når førerhuset tippes