
P46.20-2237-09
Shown on model 171 |
3 | Front axle carrier | 23n | Retaining plate | 30g | Hydraulic line | ||
4 | Electrical connector | 23q | Oil lines retainer | 30i | High pressure pipe | ||
10a | Tie rod joint | 24a | Screw | 80a | Lower steering shaft | ||
23 | Rack-and-pinion steering | 24b | Screw | Y10 | SPS [PML] solenoid valve | ||
23a | Retaining plate bolts | 25 | Steering coupling | ||||
23g | Rack-and-pinion steering bolts | 25a | Bolt, steering joint |

Model 172 with engine 276 |
1 | Trim |
23 | Rack-and-pinion steering |
P46.20-2420-03
Danger ! | Risk of injury to skin or eyes from hydraulic fluid spraying out under pressure.Risk of poisoning from swallowing hydraulic fluid. | Depressurize hydraulic system completely before starting any work on it. Wear protective clothing and safety glasses. | |
| Notes on self-locking nuts and bolts | ||
| Evaluating steering gear when repairing accident vehicles | ||
| Remove/install | ||
1 | Deactivate memory package | Model 171 | |
2.1 | Remove left engine air intake duct upstream of air filter | Model 171 | |
2.2 | Remove front engine cover | Model 172 with engine 276, 651 | |
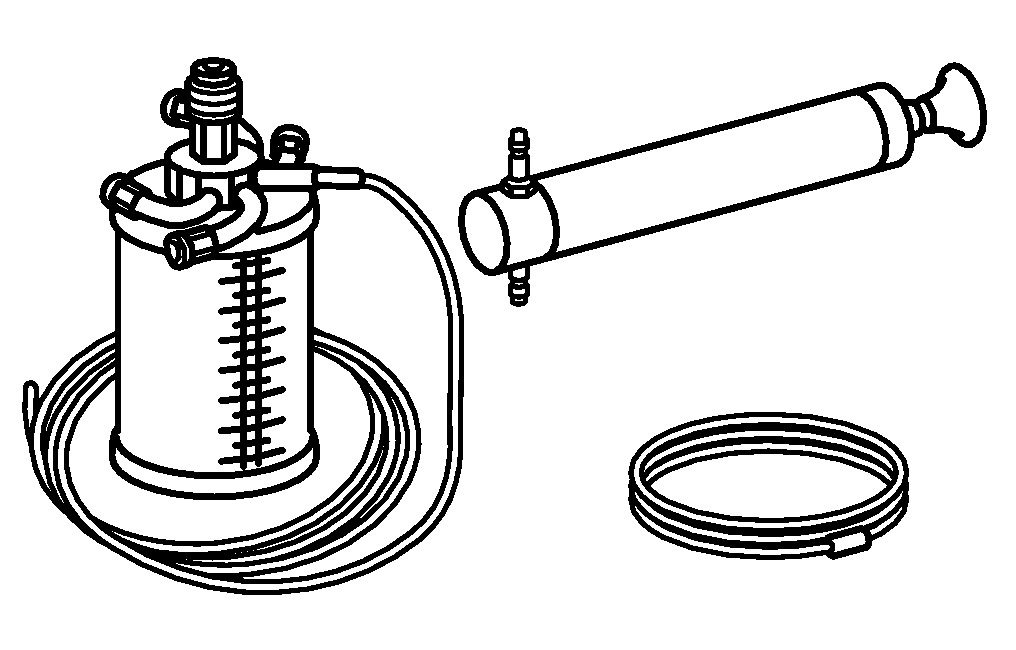
3 | Extract oil from power steering expansion reservoir | | |
Hand pump | |||
4 | Detach steering coupling (25) from lower steering shaft (80a) |
| |
Model 171 with engine 113, 272 | |||
5 | Detach wheel-and-tire assembly at the front | ||
| |||
6 | Remove front diagonal braces | Installation: The diagonal struts may only be tightened after the vehicle has its wheels on the ground and it is in ready-to-drive condition. | |
Self-locking bolt, front diagonal strut to frame floor or front axle carrier | |||
7 | Detach electrical connection (4) from SPS solenoid valve (Y10) | Model 171 | |
8 | Remove bolt from retaining plate for oil lines (23q) | Bolt, oil line retaining plate to rack-and-pinion steering | |
9 | Remove retaining plate for oil lines (23q) from rack-and-pinion steering (23), pull high-pressure line (30i) and hydraulic line (30g) out of rack-and-pinion steering (23) and set aside. | Seal the connections using suitable stop plugs. | |
Collect escaping oil in suitable container. | |||
Installation: Replace O-ring of high-pressure line (30i) and support ring and O-ring of hydraulic line (30g). | |||
Record plug | |||
10.1 | Remove bolts (24a, 24b) and remove high-pressure line (30i) and hydraulic line (30g) from rack-and-pinion steering (23) | Model 171 | |
Bolt, hydraulic line bracket to steering rack | |||
10.2 | Remove bolt (24a) and remove hydraulic line (30g) from rack-and-pinion steering (23) | Model 172 with engine 271, 274, 276, 651 | |
Bolt, bracket for high-pressure line to steering gear (EHPS) | |||
11 | Open left and right paneling (1) at the separation point (arrow) | Model 172 with engine 276, 651 | |
12 | Press tie rod joints (10a) off steering knuckles |
| |
Model 172 | |||
Self-locking nut, tie rod to steering knuckle | |||
Puller | |||
Thrust piece | |||
Press | |||
Thrust piece | |||
Puller | |||
13 | Support rack-and-pinion steering (23) and secure to prevent it from falling down | ||
14 | Remove bolts for retaining plate (23a) and bolts for rack-and-pinion steering (23g) then remove retaining plate (23n) | Bolted connection, rack-and-pinion steering to front axle carrier | |
Bolted connection, supporting plate to front axle carrier | |||
15 | Carefully remove rack-and-pinion steering (23) downwards out of front axle carrier (3) | | |
| Check | ||
16 | Check elastomer bearings of rack-and-pinion mounting for damage | Model 171 | |
If necessary | |||
| |||
Replace elastomer bearing | |||
Antifriction paste, rubber parts 2.5 kg, DBL 6867.00 | |||
17 | Check dust cap on primary shaft of rack-and-pinion steering (23) for damage | If necessary | |
| |||
Replace dust cap | |||
18 | Install in the reverse order | ||
19 | Fill power steering pump and bleed |
| |
Model 171 with engine 113, 271, 272 | |||
Danger ! | Risk of accident from vehicle starting off by itself when engine running. Risk of injury (bruises and burns) resulting from working on the engine while it is being started or when it is running. | Secure vehicle to prevent it from starting off by itself. Wear closed and snug-fitting work clothes. Do not touch hot or rotating parts. | |
20 | Check steering with engine running for leaktightness and proper operation | ||
21 | Check front axle toe and adjust if necessary | When installing new parts. | |
Model 171 | |||
Model 172 |



124 589 03 33 00
Puller
210 589 00 71 00
Hand pump
140 589 00 63 00
Thrust piece
221 589 00 33 00
Puller


171 589 00 34 00
Thrust piece
129 589 00 91 00
Record plug
163 589 03 43 00
Press
Henviste dokumenter
- ah0000n000101a Oplysninger om selvlåsende bolte og møtrikker
- ah4620p940901a Vurdering af styretøjet ved reparation af et køretøj, som har været impliceret i en ulykke
- ap4010p4050v Af-, påmontering og om nødvendigt omplacering af hjul
- ar4020p0200ew
- ar4020p0200v
- ar4610p0621v
- ar4610p0621va
- ar4620p0004p Af- og påmontering af beskyttelseskappe indgangsaksel styretøj
- ar4620p060002v
- ar4630p0010rd
- ar4630p0010v
- ar4640p020001v
- ar4640p020002cw Udtrykning af samt montering af sporstangsled fra akselspindel
- as0000z000501a Fare for ulykke ved automatisk igangsætning når motoren kører. Fare for personskade på grund af knusning og forbrænding, hvis der arbejdes mens motoren startes eller kører
- as0000z001301a Fare for kvæstelser på hud og øjne på grund af sprøjtende hydraulikvæske, som erunder højt tryk. Forgiftningsfare ved indtagelse af hydralikvæske