
P46.20-2143-09
1 Tie rod joints
2 Heat shield
3 Front axle carrier
4 Screw
5 Steering coupling
10a Bolts
10b Bolts
11 Rubber bushing
Y10 SPS [PML] solenoid valve
6 Lower steering shaft
7 Locking plate
8 Bracket
9 Oil lines retainer
10 Rack-and-pinion steering
Modification notes
| Remove/install | ||
Danger! | Risk of injury to skin or eyes caused by hydraulic fluid spraying out under high pressure. Risk of poisoning caused by swallowing hydraulic fluid | Depressurize hydraulic system completely before starting any work on system. Wear protective clothing and safety glasses. | |
| Notes on self-locking nuts and bolts | ||
1 | Extend or pull out adjustable steering column fully | Needed for separating the steering coupling (5). | |
2 | Deactivating entry/exit aid | Vehicles with memory package (driver seat, steering column, mirrors) code 275 | |
Otherwise the driver seat and steering wheel move to a different position, e.g. when the driver door is opened/closed. The upper frame may be damaged when the holding device is installed. | |||
Disabling takes place via the buttons on the steering wheel in the "Comfort" menu of the multifunction display, see owner's manual. | |||
3 | Turn steering wheel to central position (front wheels in straight ahead position) and secure with the retaining device | On a disengaged steering coupling (5) the steering wheel should not be turned because the spiral contact coil will be destroyed. | |
| |||
4 | Remove front engine cover | Engine 156 | |
5 | Extract oil from power steering reservoir | | |
6 | Remove the front wheels | ||
| Remove/install wheels, rotate if necessary | ||
7.1 | Remove bottom engine compartment paneling | Vehicles with gasoline engine | |
7.2 | Remove bottom sections of soundproofing | Vehicles with diesel engine | |
8 | Press tie rod joints (1) off steering knuckles | ||
| |||
| |||
| |||
9 | Detach heat shield (2) from front axle carrier (3) | ||
10 | Detach steering coupling (5) from lower steering shaft (6); to do so, remove bolt (4) | The locking plate (7) is available as a replacement part. | |
Installation: Insert a new self-locking nut into the existing locking plate (7). Push on locking plate (7) until the lug on the locking plate (7) engages in the steering coupling. | |||
| |||
11 | Pull the lower steering shaft (6) upward to extract it from the steering coupling (5) | Do not use force (hammer, strong lever action) since the lower steering shaft is sensitive to lateral impacts. This would cause distortion and render the lower steering shaft unusable. | |
Installation: Turn rack-and-pinion steering (10) to center position and fit steering coupling. | |||
Installation: Watch the tab on the steering coupling and the groove in the lower steering shaft while sliding the lower steering shaft all the way into the steering coupling. | |||
12 | Cut cable tie (arrow) and disconnect plug from SPS solenoid valve (Y10) | ||
13 | Dismantle bracket (8) from rack-and-pinion steering (10) | ||
14 | Detach oil line retaining plate (9) from rack-and-pinion steering (10) and pull out oil lines. | Before opening the hydraulic system, thoroughly clean the area around the separation point since even minute particles of dirt, introduced into the hydraulic components, can result in malfunctions and a total failure of the hydraulic system. | |
Installation: Replace O-rings. | |||
Seal off line connections with plugs. | |||
| |||
| |||
15 | Support rack-and-pinion-steering (10) using transmission jack and platform | Telescopic lifter | |
Transmission plate for passenger cars and commercial vehicles | |||
16 | Detach rack-and-pinion steering (10) from front axle carrier (3) by unscrewing bolts (10a, 10b) | Installation: Bolts, nuts and bolted connection area must be free of oil and grease since lubricants can melt and spread as result of a rise in temperature and this may cause the bolted connections to work loose. | |
| |||
17 | Carefully lower rack-and-pinion steering (10). | ||
| Evaluating steering rack when repairing accident vehicles | ||
| Checking | ||
18 | Check rubber mount (11) of rack-and-pinion steering mounting for damage. | Replace if necessary: | |
Remove rubber mount of rack-and-pinion steering fastening | |||
19 | Install in the reverse order | ||
20 | Fill power steering pump and bleed | Engine 272, 273, 642 | |
Engine 113, 156 | |||
21 | Check steering for function and leaks | ||
22 | Check front axle toe and adjust if necessary | When installing new parts. See: | |
Perform wheel alignment check |
Tie rod
Number | Designation | Model | ||
BA46.40-P-1001-01E | Self-locking nut, tie rod to steering knuckle | Stage 1 | Nm | 50 |
Stage 2 | ° | 90 | ||
Steering shaft
Number | Designation | Model | ||
BA46.10-P-1001-01E | Bolt, steering coupling to steering shaft | Stage 1 | Nm | 30 |
Stage 2 | ° | - | ||
Steering gear
Number | Designation | Model | ||
BA46.20-P-1001-01J | Bolt, oil line retaining plate to rack-and-pinion steering | Nm | 18 | |
BA46.20-P-1002-01J | Bolted connection, rack-and-pinion steering to front axle carrier | Stage 1 | Nm | 70 |
Stage 2 | ° | 90 | ||

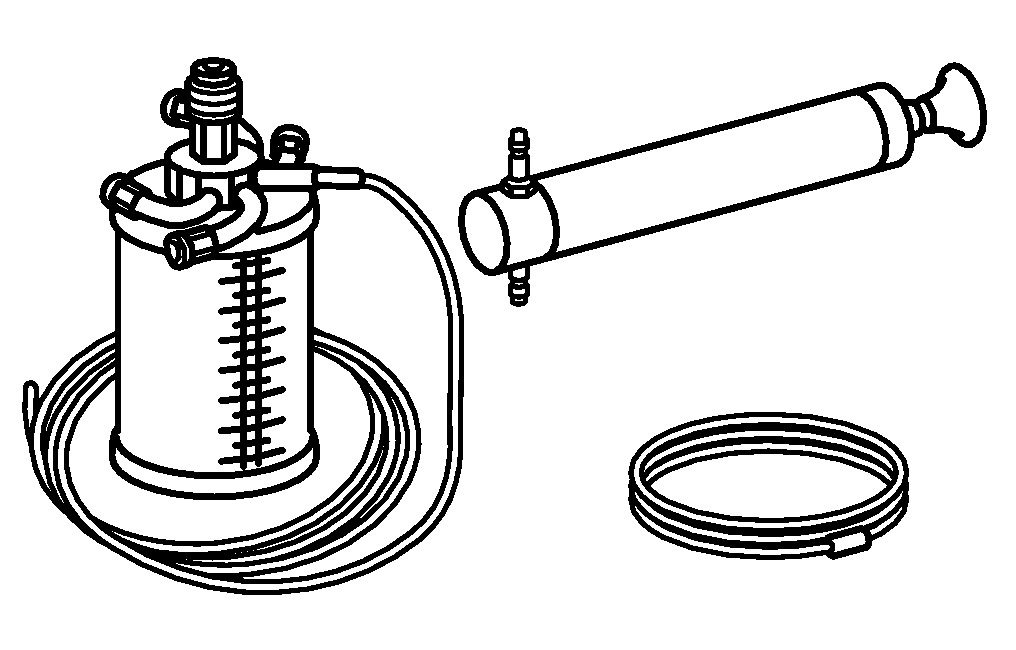


124 589 03 33 00
Holding device
Puller
Hand pump
Thrust piece
210 589 00 71 00
129 589 01 21 00
140 589 00 63 00

Set of stop plugs
129 589 00 91 00
Odkazované dokumenty
- ah0000n000101a Upozornění k samopojistným šroubům a maticím
- ah4620p940901a Posuzování převodky řízení při opravě havarovaného vozidla
- ap4010p4050tx Demontáž, montáž hnaných kol, v případě nutnosti přesazení
- ar4020p0200tx
- ar4620p060001tx
- ar4620p060002tx
- ar4630p0010tx
- ar4630p0010ty
- ar4640p020002tx
- ar6120p1105tx
- ar9430p5300tx
- as0000z001301a Nebezpečí poranění kůže a očí hydraulickou kapalinou vystřikující vlivem vysokého tlaku. Nebezpečí otravy při požití hydraulické kapaliny