Rear axle differential |
Number | Designation | MODEL 204.377 with CODE P98, except CODEB25 | MODEL 204.377 with CODE B25 and CODE P98 | ||
BF35.31-P-1001-01T | Filling capacity | Rear axle differential 187 FE, Ø 187 mm | Liter | – | – |
Sheet | - | - | |||
Rear axle differential 200 FE, Ø 200 mm | Liter | – | – | ||
Sheet | - | - | |||
Rear axle differential 215 FE, Ø 215 mm | Liter | 1,2 | 1,35 | ||
Sheet | |||||

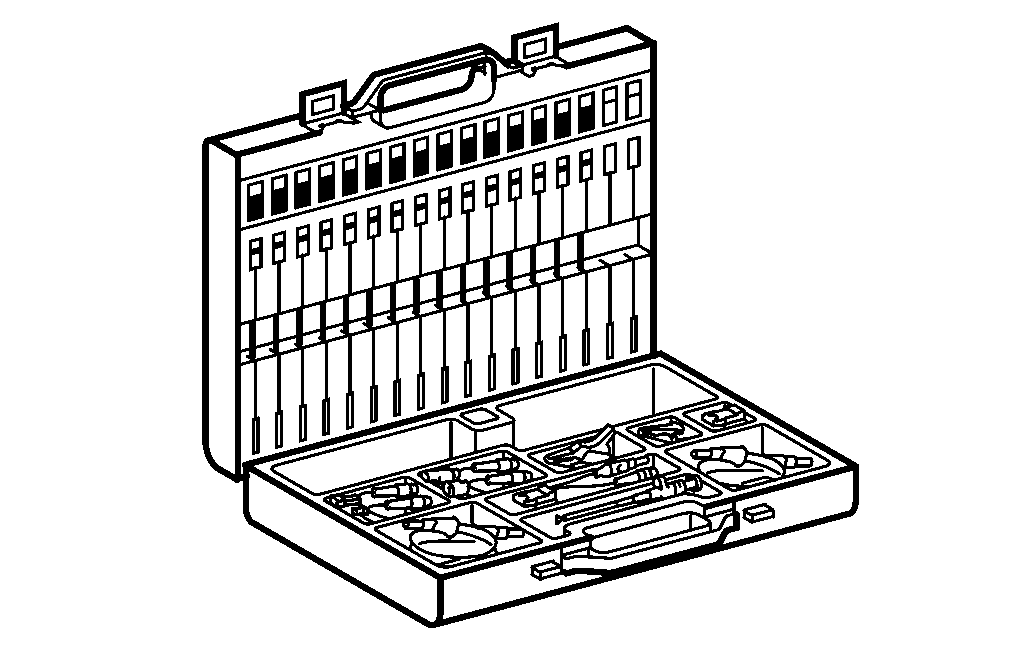
129 589 00 91 00
Record plug
220 589 05 99 00
Electrical connection kit
Repair materials |
Number | Designation | Order number |
BR00.45-Z-1028-04A | Assembly cleaner | Adolf Würth GmbH & Co. KG |
BR00.45-Z-1046-04A | Loctite 7063 cleaning spray (150 ml) | A 001 986 71 71 10 |
BR00.45-Z-1061-01A | Sealant, Omnifit 100H (50 g) | A 002 989 23 71 |

P35.31-2215-08
Shown on model 209.377 |
1 | Differential | 2 | Cable | 4 | Connection | ||
1a | Drain screw | 2a | Sealing rings | M75 | Rear axle differential cooling circuit oil pump | ||
1b | Banjo bolt | 3 | Threaded insert |
Perform oil level check at room temperature only and not when the rear axle differential (1) is at operating temperature. Oil could otherwise escape if the rear axle differential (1) is at operating temperature.
1 | Clean area around the banjo bolt (1b) and threaded insert (3). |
2 | Remove banjo bolt (1b) and remove line (2) with seal rings (2a). |
Collect any oil that escapes from the line (2) in an approved container. |
3 | Seal line (2) with stop plug and tie upwards. |
The line opening must be located above the filler hole. |
4 | Unscrew threaded insert (3). |
Do not remove if rear axle differential (1) has to be prefilled. |
Collect escaping oil in approved container. |
Perform operation steps 5 to 14 only after replacing the rear axle differential coolant circuit oil pump (M75), lines, radiator or rear axle differential (1). |
5 | Prefill differential (1) with the specified oil quantity. |
6 | Mount line (2) with seal rings (2a) and banjo bolt (1b) on differential (1). |

7 | Release and disconnect rear axle differential cooling circuit temperature switch connector (X151). |
8 | Join plug contacts with adapter line electrical connection kit. |
9 | Switch on ignition. |
Leave ignition switched on for max. 30 seconds. |
Switch on the ignition 2-times in succession for approx. 30 seconds with an interruption in each case of 1 minute. |
The running noise of the rear axle differential coolant circuit oil pump (M75) must become quieter as soon as oil flows through the rear axle differential coolant circuit oil pump (M75). If the rear axle differential coolant circuit oil pump (M75) does not run, determine and eliminate the cause subject to separate repair order. |
10 | Switch off ignition. |
11 | Disconnect adapter line and connect rear axle differential cooling circuit temperature switch connector (X15/1) together. |
Shown on model 209.377 |
X15/1 | Rear axle differential cooling circuit temperature switch connector |
M75 | Rear axle differential cooling circuit oil pump |
P35.31-2214-12
12 | Remove banjo bolt (1b) and remove line (2) with seal rings (2a). |
Collect any oil that escapes from the line (2) in an approved container. |
13 | Seal line (2) with stop plug and tie upwards. |
The line opening must be located above the filler hole. |
14 | Unscrew threaded insert (3). |
The threaded insert (3) must be unscrewed from the filler hole. |
Collect escaping oil in approved container. |
15 | Check oil level. |
Allow excess oil to flow out. |
When the oil level is correct the oil reaches the bottom edge of the oil filler hole in the differential (1). |
16 | Clean new threaded insert (3) as well as filler hole in differential (1). |
Replace threaded insert (3) whenever it is removed. |
17 | Screw new threaded insert (3) into differential (1) and tighten. |
Apply a drop of sealant to the third thread from the bottom and immediately install the new threaded insert (3). |
18 | Mount line (2) with banjo bolt (1b) on differential (1). |
Install new sealing rings (2a). |
19 | Carry out leak check on differential (1) and connection points. |
Do not retighten or loosen the connector (4) if there is leakage . |