
W07.15-1025-09
1 | MR/PLD unit pump | 5 | Multi-point screw | |
2 | O-ring | 6 | Injection line | |
3 | O-ring | 7 | Engine wiring harness | |
4 | O-ring | 8 | Impact extractor |

1 | MR/PLD unit pump |
2 | O-ring |
3 | O-ring |
4 | O-ring |
9 | Protective sleeve |
W07.15-1060-01

1 | MR/PLD unit pump |
Pfeil | Bar code |
T07.15-0007-02
| Remove/install | ||
Warning | Risk of injury caused by body parts being pinched or crushed as cab is tilted | Ensure that no one is within the tilting range of the cab as it is being tilted. Always tilt the cab all the way to the end position and secure it with the safety strut. | |
1 | Tilt cab | ||
Topical note | Notes on tilting the cab | ||
2 | Install cranking device for engine | ||
Inspection hole cap to timing case | |||
Turning device | |||
Danger | Risk of explosion caused by fuel igniting, risk of poisoning caused by inhaling and swallowing fuel as well as risk of injury to eyes and skin caused by contactwith fuel. | No fires, sparks, open flames or smoking. Pour fuels into suitable and appropriately marked containers only. | |
3 | Remove injection line (6) | ||
Seal bores on nozzle holder assembly and MR/PLD unit pump (1). | |||
4 | Clean engine in area of MR/PLD unit pump (1) | ||
5 | Remove engine wiring harness (7) from MR/PLD unit pump (1) | Release screws at solenoid valve and disconnect both clips. | |
6 | Mark MR/PLD unit pump (1) in relation to corresponding cylinder | Only when removing multiple or all MR/PLD unit pumps (1). | |
7 | Release multi-point screws (5) | To be safe, the multi-point screws may be unscrewed by only approx. 4–5 mm; the MR/PLD unit pump (1) is subject to spring clamping force. | |
Installation: Install MR/PLD unit pump (1) with the multi-point screws (5) by screwing them into the cylinder crankcase slowly and alternately. | |||
Screw, MR/PLD unit pump to crankcase | |||
8 | Install impact extractor (8) at MR/PLD unit pump (1) | Impact extractor | |
9 | Pull out MR/PLD unit pump (1) up to the bolt heads using the impact extractor (8) | Rotate crankshaft with the cranking device until the pump cam on the camshaft pushes the MR/PLD unit pump (1) out of the cylinder crankcase. A tight fitting MR/PLD unit pump (1) must not be pressed out at the solenoid valve or the housing flange. | |
Installation: Lightly coat unit pump body, surface of O-rings (2, 3), and bore in cylinder crankcase with engine oil. Do not tilt MR/PLD unit pump (1) when inserting it in the cylinder crankcase. The fuel feed pipe at the MR/PLD unit pump (1) serves as a guide. Before pressing on the MR/PLD unit pump (1), make sure that the fuel feed pipe and the joining bore are on top of each other. | |||
10 | Unscrew the multi-point screw (5) and pull out the MR/PLD unit pump (1) | The MR/PLD unit pump (1) must not be disassembled. In case of wear or complaints, the MR/PLD unit pump (1) must be replaced. | |
Installation: Carefully remove dirt and paint residues from the sealing surface of the MR/PLD unit pump (1) and remove cylinder crankcase. | |||
Screw, MR/PLD unit pump to crankcase | |||
11 | Check MR/PLD unit pump (1) | Check roll on roller tappet; in case of minimal score marks or scratches, the MR/PLD unit pump (1) can still be used. In case of deep score marks, scratches, or sanding spots, the MR/PLD unit pump (1) must be replaced. The unit pump body must not be disassembled. | |
12 | Remove O-rings (2, 3, 4) at MR/PLD unit pump (1) | Installation: Clean radial groove in unit pump body. | |
Sleeve | |||
13 | Install in the reverse order | Installation: When installing new MR/PLD unit pumps (1), note the barcode (arrow) of the MR/PLD unit pump (1) in relation to the corresponding cylinder. | |
14 | Teach in the barcode (arrow) of the MR/PLD unit pump (1) with Star Diagnosis in the "MR" menu | ||
| |||
Only when installing new MR/PLD unit pumps (1). |
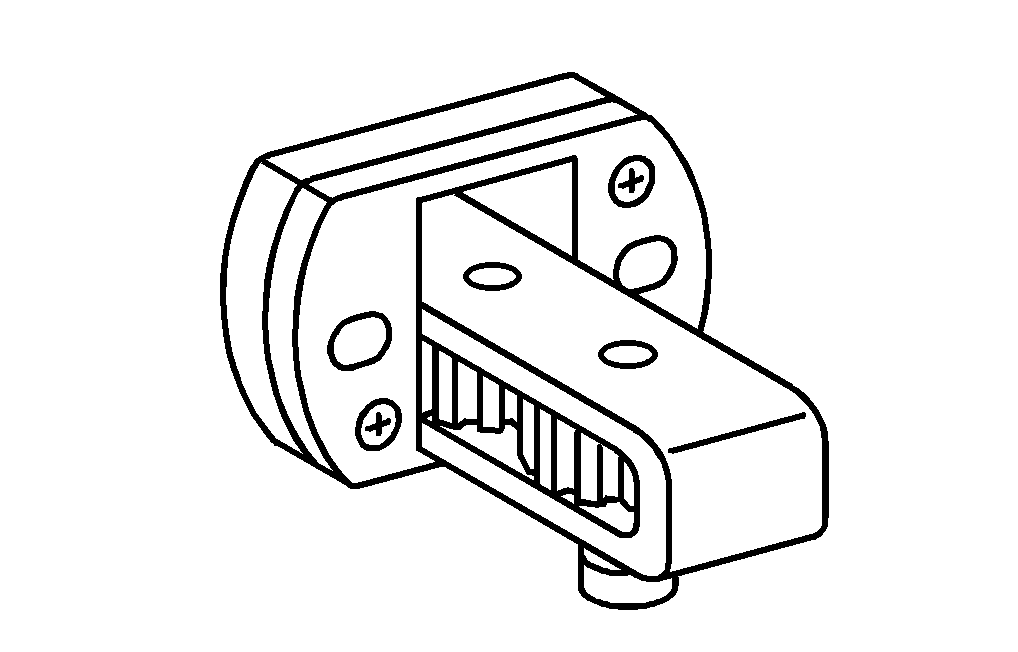


904 589 04 63 00
Turning device
904 589 03 14 00
Sleeve
355 589 01 63 00
Impact extractor