
W05.20-1063-08
1 | Intake camshaft | 3 | Rocker arm carrier | 7 | Jig | ||
2 | Exhaust camshaft | 6 | Gear | 8 | Control plunger |

W05.20-1049-09
3 | Rocker arm carrier | 4 | Camshaft bearing shells | 5 | Cylinder head |
Warning | Risk of accident from vehicle starting off by itself when engine running. Risk of injury (bruises and burns) resulting from working on the engine while it is being started or when it is running. | Secure vehicle to prevent it from starting off by itself. Wear closed and snug-fitting work clothes. Do not touch hot or rotating parts. | |
Topical note | Notes on avoiding damage through contamination and foreign objects | ||
| Remove | ||
1 | Open the engine compartment | The access to perform maintenance and repair works varies according to the manufacturer and the body type. | |
2 | Remove the acoustic encapsulation | ||
3 | Remove the resonator tank | ||
4 | Remove the cylinder head cover | ||
5 | Install the turning device the engine on the flywheel housing | ||
.Spinning device bolt in the engine flywheel housing | |||
Turning device | |||
6 | Position the 1st cylinder of the engine on the top dead center and lock it | ||
The setting on the top dead center (OT) and, respectively, the locking device, must not be altered during the removal and installation of the intake camshaft (1) and of the exhaust camshaft (2). If necessary, carry out the work steps again. | |||
Template | |||
Drift | |||
7 | Remove the rocker arm carrier (3) | ||
8 | Remove the intake camshaft (1) and the exhaust camshaft (2) | | |
| Check | ||
9 | Check the bearing shells (4) of the camshafts on cylinder head (5) and on rocker arm carrier (3) for wear and damages | In case of replacement, it must always be replaced both camshaft bearing shells (4) | |
In case of wear or damages: | |||
| |||
Replace the camshaft bearing shells (4). | |||
10 | Check the rolling surface of the intake camshaft (1) and of the exhaust camshaft (2) for wear and damages | In case of wear or damages: | |
| |||
Replace the damaged intake camshaft (1) or the exhaust camshaft (2). | |||
| Install | ||
11 | Install the camshaft bearing shells of the (4) on the cylinder head (5) | Only in case of replacement of the bearing shells (4) of the camshafts. | |
By installing the bearing shells (4) of the camshafts, observe the different widths of bearings and the oil hole placement. | |||
12 | Install the intake camshaft (1) or the exhaust camshaft (2) | | |
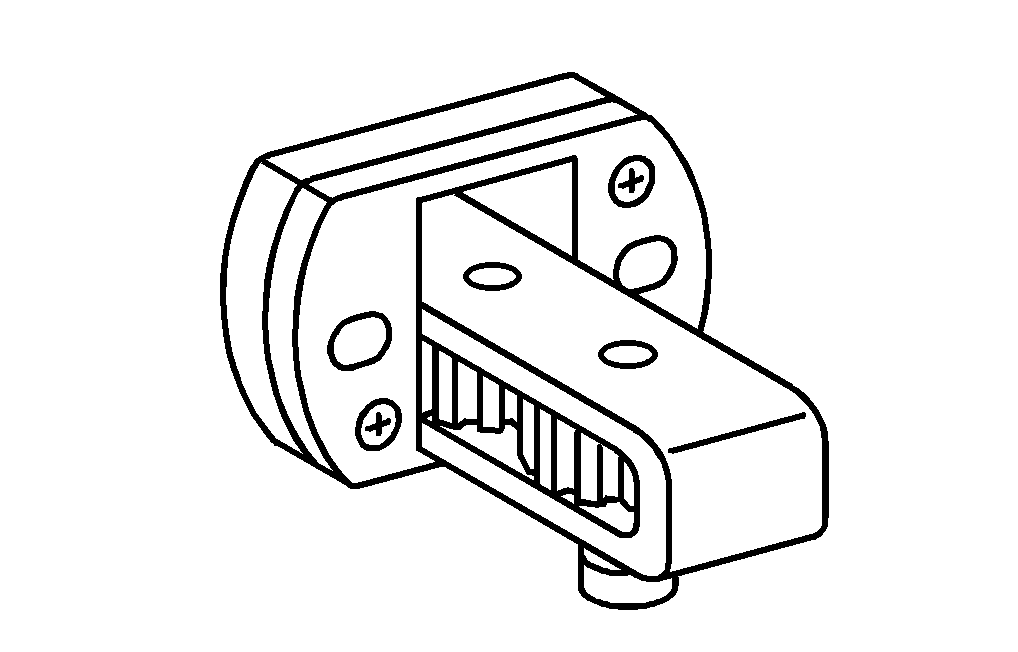
The holes on gear (6) of the intake camshaft (1) and of the exhaust camshaft (2) must match with the pins on the jig (7). | |||
Template | |||
13 | Install the bearing shells (4) of the camshafts on the rocker arm carrier (3) | Only in case of replacement of the bearing shells (4) of the camshafts. | |
By installing the bearing shells (4) of the camshafts, observe the different widths of bearings and the oil hole placement. | |||
14 | Install the rocker arm carrier (3) | ||
15 | Check valve clearance and adjust if necessary | ||
| |||
16 | Remove the device for turning the engine from the flywheel housing | ||
.Inspection closure cap screw of the top dead center (OT) on the flywheel housing | |||
17 | Remove the punch used for retaining the flywheel and install the crankshaft position sensor | Replace the sealing ring. | |
.Position sensor screw of cranckshaft on the steering wheel housing | |||
18 | Remove the jig (7) | ||
19 | Install cylinder head cover | ||
20 | Install the resonator tank | ||
21 | Install the acoustic encapsulation | ||
22 | Start the engine and perform the engine test cycle | Let engine running at higher speed. | |
23 | Check the surroundings of the cylinder head cover and of the rocker arm carrier (3) for leak-tightness and stop the engine | Visual inspection. | |
24 | Close the engine compartment |


904 589 04 63 00
Turning device
936 589 00 23 00
Template
936 589 00 15 00
Drift
Henviste dokumenter
- ah0000n500001h Oplysninger om forebyggelse af skader på grund af snavs og fremmedlegemer
- ap0530b0560evi
- ar0120b5014evi
- ar0330b160003evi
- ar0500b5551evi
- ar0510b762003evi
- ar1310b5840evi
- as0000z000501a Fare for ulykke ved automatisk igangsætning når motoren kører. Fare for personskade på grund af knusning og forbrænding, hvis der arbejdes mens motoren startes eller kører