AR07.15-G-8950B | Remove MR/PLD unit pump, install | 9.1.12 |
ENGINES 900.915 /916 /920 /921, 902.923 /924 /935 /935, 904.927 /928 /952 /953, 906.935 /955, 924.916 /923 /931, 926.969

W07.15-0082-09
Shown on engine 904
1 Engine control unit pump (PLD)
2 O-ring
3 O-ring
4 O-ring
5 Screw/bolt
6 Injection line
7 Engine wiring harness
8 Impact extractor

W07.15-1060-01
1 Engine control unit pump (PLD)
2 O-ring
3 O-ring
4 O-ring
9 Protective sleeve

T07.15-0007-02
1 Engine control unit pump (PLD)
Arrow Bar code
| Remove/install | ||
1.1 | Tilt cab | Model 405 , model 437.42/43 | |
1.2 | Open engine hood | Model 437.46 See information from vehicle manufacturer. | |
2 | Attach turning device for engine | ||
| |||
Cranking device | |||
3 | Remove engine trim panel | Model 405.05 | |
4 | Clean the engine around the engine control unit pump (PLD) (1) | ||
Danger! | Risk of explosion caused by fuel igniting, risk of poisoning caused by inhaling and swallowing fuel and risk of injury to eyes and skin caused by contact with fuel | No fire, sparks, open flames or smoking. Only pour fuels into suitable and appropriately marked containers. Wear protective clothing when handling fuel. | |
5 | Remove injection line (6) | Close off the holes in the nozzle holder combination and the engine control unit pump (PLD) (1). | |
6 | Remove the mounting strip for engine wiring harness (7) with start engine button (S22) and stop engine button (S23) from the cylinder crankcase | Only if removing the engine control unit pump (PLD) (1) for cylinder 1 or 2. | |
7 | Remove engine wiring harness (7) from engine control unit pump (PLD) (1) | Loosen screw/bolts at solenoid valve and disconnect both push-fit clips. | |
8 | Mark engine control unit pump (PLD) (1) relative to the cylinder concerned | Only if removing more than one, or all engine control unit pumps (PLD) (1). | |
9 | Loosen screw/bolts (5) | To ensure safety, screw/bolts (5) should only be unscrewed by about 4 to 5 mm, as the engine control unit pump (PLD) (1) is held under spring clamping force. | |
Installation: Install engine control unit pump (PLD) (1) by screwing the screw/bolts (5) slowly into the cylinder crankcase, alternating between screw/bolts. | |||
| |||
10 | Attach impact extractor (8) to the engine control unit pump (PLD) (1) | Impact extractor | |
11 | Pull out engine control unit pump (PLD) (1) up to the bolt heads using impact extractor (8) | Turn crankshaft with the turning device until the pump cams on the camshaft push the engine control unit pump (PLD) (1) out of the cylinder crankcase. If an engine control unit pump (PLD) (1) has seized, it should not be pushed out at the solenoid valve or at the housing flange. | |
Installation: Coat the unit pump housing, surface of the O-rings (2, 3) and bore in the crankcase with engine oil. | |||
Installation: Do not tilt the engine control unit pump (PLD) (1) when inserting in the cylinder crankcase. The fuel feed pipe to the engine control unit pump (PLD) (1) can be used as a guide. When pushing in the engine control unit pump (PLD) (1), ensure that the fuel feed pipe and transfer hole are aligned with each other. | |||
Installation: Carefully push in the engine control unit pump (PLD) (1) by hand against the spring force, until there is a gap of about 4 mm. | |||
Installation: Only if installing new engine control unit pumps (PLD) (1): note the barcode (arrow) of the unit pump (PLD) (1) relative to the cylinder concerned. | |||
12 | Unscrew screw/bolt (5) and pull out engine control unit pump (PLD) (1) | The unit pump (PLD) (1) should not be disassembled. If there is wear or problems, the engine control unit pump (PLD) (1) must be replaced. | |
Installation: Carefully remove dirt and paint residues from the sealing surface of the unit pump (PLD) (1) and the cylinder crankcase. | |||
| |||
13 | Check the engine control unit pump (PLD) (1) | Check roller at the roller tappet: if there are only minimal score marks or scratches, the unit pump (PLD) (1) can be reused. If there are deep score marks, scratches or grinding spots, the unit pump (PLD) (1) must be replaced. | |
Check additional pump cams for camshaft by means of visual inspection. The unit pump body must not be disassembled. | |||
14 | Remove O-rings (2, 3, 4) from the engine control unit pump (PLD) (1) | Installation: Clean radial groove in unit pump body. Replace O-rings (2, 3, 4) and coat with engine oil. Slide protective sleeve (9) over unit pump body, roll O-ring (2) over protective sleeve (9) into groove, then install O-ring (3). The O-rings (2, 3, 4) must not be installed twisted in the grooves. | |
Sleeve | |||
15 | Install in the reverse order | ||
16 | Teach in the barcode (arrow) of the engine control unit pump (PLD) (1) through the "MR" menu in Star Diagnosis | Only if installing new unit pumps (PLD) (1). |
Timing case
Number | Designation | Engine | |
BA01.60-N-1002-01J | Inspection hole closure cover to timing case | Nm | 25 |
Diesel injection system with unit pumps (MR/PLD)
Number | Designation | Engine | ||
BA07.15-N-1001-01E | Screw/bolt, MR/PLD unit pump to crankcase | Nm | 65 | |


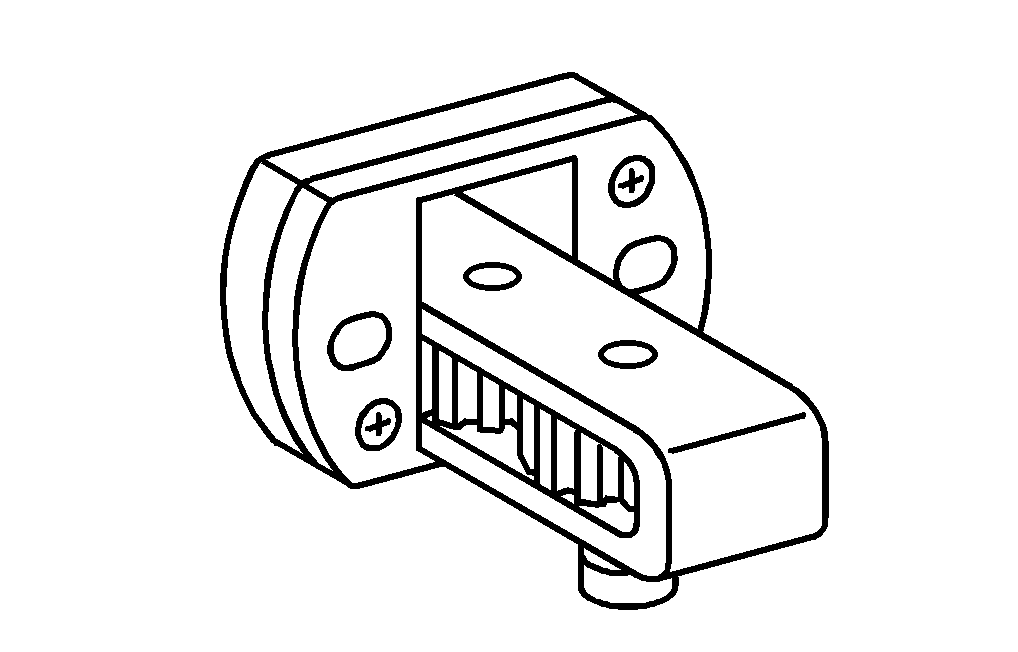
904 589 03 14 00
Cranking device
Sleeve
Impact extractor
355 589 01 63 00
904 589 04 63 00