
S25.10-4502-08
1 | Screw | 3 | Clutch plate | |
2 | Clutch pressure plate | 4 | Flywheel |
Danger | Risk of death caused by vehicle slipping or toppling off of the lifting platform. | Align vehicle between vehicle lift columns and position the four support plates at the vehicle lift support points specified by the vehicle manufacturer. | |
Topical note | Notes on self-locking nuts and bolts | ||
| Remove | ||
1 | Remove transmission | ||
2 | Install retaining lock | Insert retaining lock in starter opening and engage in starter ring gear. Turn engine in direction of engine rotation if necessary. | |
Socket wrench bit | |||
Retaining lock | |||
3 | Remove bolt (1) | | |
4 | Remove clutch pressure plate (2) with clutch plate (3) | ||
| Check | ||
5 | Check clutch pressure plate (2) and clutch plate (3) for damage and wear | ||
6 | Check central clutch release bearing for wear and leak tightness | ||
Notes on working on central clutch release bearing of transmission | |||
Depending on findings: | |||
| |||
Install new central clutch release bearing. | |||
Remove/install central clutch operator | |||
7 | Check flywheel (4) for wear and damage | Depending on findings: | |
| |||
Replace flywheel (4). | |||
Remove/install a flywheel | |||
| Clean | ||
8 | Clean friction surface on flywheel (4) and sand off using coarse abrasive paper | Assembly cleaner | |
9 | Clean friction surface on clutch pressure plate (2) and sand off using coarse abrasive paper | Assembly cleaner | |
| Install | ||
10 | Fit clutch pressure plate (2) with clutch plate (3) on flywheel (4) and center using centering drift | | |
Alignment punch | |||
11 | Attach clutch pressure plate (2) to flywheel using three screws/bolts (1) | Screw in the bolts (1) approx. one revolution only while doing so. | |
12 | Position remaining bolts (1) and then tighten all the bolts (1) | | |
Bolt, clutch pressure plate to flywheel | |||
13 | Remove alignment punch | ||
14 | Remove retaining lock | ||
15 | Install transmission |

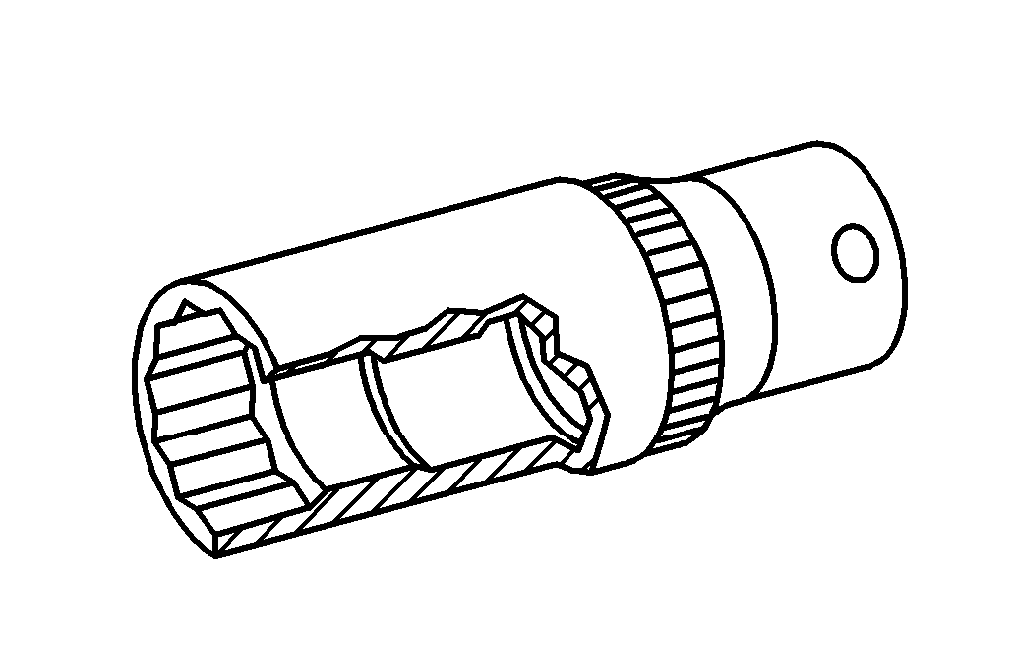

112 589 03 40 00
Retaining lock
001 589 65 09 00
Socket wrench bit
201 589 08 15 00
Alignment punch
Henviste dokumenter
- ah0000n000101a Oplysninger om selvlåsende bolte og møtrikker
- ah2640n100101s Oplysninger ved arbejde på centraludrykker på gearkasse
- ar0330s8002eg
- ar2510s005001e
- ar2610s0020eg
- ar2640s0345eg
- as0000z001001a Livsfare, hvis køretøjet glider ned fra eller tipper på liften.