
W07.15-0082-09
1 MR/PLD unit pump
2 O-ring
3 O-ring
4 O-ring
5 Bolt
6 Injection line
7 Engine wiring harness
8 Impact extractor

W07.15-1060-01
1 MR/PLD unit pump
2 O-ring
3 O-ring
4 O-ring
9 Protective sleeve
| Remove/install | ||
Danger! | Risk of explosion caused by fuel igniting, risk of poisoning caused by inhaling and swallowing fuel and risk of injury to eyes and skin caused by contact with fuel | No fire, sparks, open flames or smoking. Wear protective clothing when handling fuel. | |
1 | Remove injection line (6) | Seal holes at nozzle holder combination and at MR/PLD unit pump | |
2 | Clean engine in area of MR/PLD unit pump | ||
3 | Remove mounting strip for electrical engine wiring harness (7) together with Start and Stop switch on cylinder crankcase | Only if MR/PLD unit pump(1) | |
4 | Take off electrical engine wiring harness (7) at MR/PLD unit pump (1) | To do this loosen bolts and disconnect both clip fasteners. | |
5 | Mark MR/PLD unit pump (1) relative to the cylinder | Only when removing a number of MR/PLD unit pumps (1). | |
6 | Loosen bolts (5) for MR/PLD unit pump (1) | The fact that the MR/PLD unit pump (1) is under spring tension means that the bolts (5) are not fully but only partially | |
Installation: Screw in bolts (5) slowly and alternately. | |||
| |||
7 | Fit impact extractor (8) to MR/PLD unit pump (1) | | |
8 | Pull out MR/PLD unit pump (1) with the impact extractor (8) up to the screw heads stop | A jammed MR/PLD unit pump (1) must not be pushed out at the solenoid valve or on the housing flange otherwise they can be damaged. | |
Installation: Wet the unit pump housing, surface of the O-rings (2, 3) and bore in the crankcase lightly with engine oil. | |||
Do not tilt MR/PLD unit pump (1) when inserting into crankcase. | |||
The fuel feed pipe at the MR/PLD unit pump (1) acts as a guide. Before pressing on MR/PLD unit pump (1), ensure that the fuel feed pipe and the overflow hole are positioned one above the other. | |||
Press in the MR/PLD unit pump (1) carefully by hand against the spring force up to a space of about 4 mm and screw in the bolts (5) in this position. | |||
If unit pump cams on the camshaft are at the top and it is not possible to press in the MR/PLD unit pump (1) far enough as a result, the engine must be further turned by about half a revolution using the turning device in the direction of rotation: | |||
Attach cranking device to timing case | |||
| |||
| |||
| |||
9 | Remove bolts (5) and take out MR/PLD unit pump (1) completely | Installation: Carefully remove paint and paint remains from sealing surface of MR/PLD unit pump (1) and crankcase. | |
10 | Replace O-rings (2, 3, 4) at the MR/PLD unit pump (1) | ||
| |||
| Checking | ||
11 | Check MR/PLD unit pump (1) | The unit pump body must not be disassembled. Inspect roller at roller tappet: if there are only minimal scores or scratches, the MR/PLD unit pump (1) can still be used. The MR/PLD (1) unit pump must be replaced if the scores, scratches or grinding marks are too deep. | |
12 | Install in the reverse order |
Timing case
Number | Designation | Engines | |
BA01.60-N-1002-01A | Inspection hole closure cover to timing case | Nm | 25 |
BA01.60-N-1003-01A | Bolt, turning device to timing case | Nm | 25 |
Diesel injection system with unit pumps (MR/PLD)
Number | Designation | Engine Engine | ||
BA07.15-N-1001-01A | Bolt, unit pump to crankcase | Nm | 65 | |


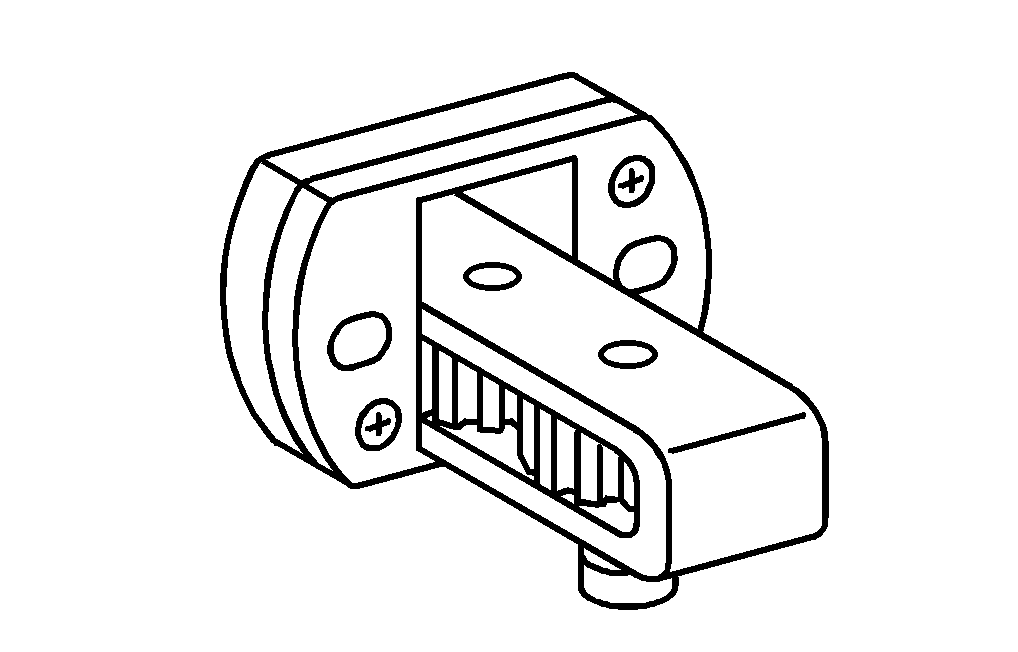
904 589 03 14 00
Cranking device
Sleeve
Impact extractor
355 589 01 63 00
904 589 04 63 00
Repair materials
Number | Designation | Order number |
BR00.45-Z-1051-06A | Hot bearing grease | A 000 989 81 51 |
Odkazované dokumenty
- ar0330w160003a Montáž, demontáž otočného/blokovacího zařízení pro motor
- ar0715i9235b
- ar0715w895001a Výměna O-kroužků na vstřikovací jednotce za nové
- as4700z000101a Nebezpečí výbuchu při vznícení, nebezpečí otravy při vdechnutí a požití paliva inebezpečí úrazu v důsledku přímého doteku kůže a očí s palivem