Modification notes
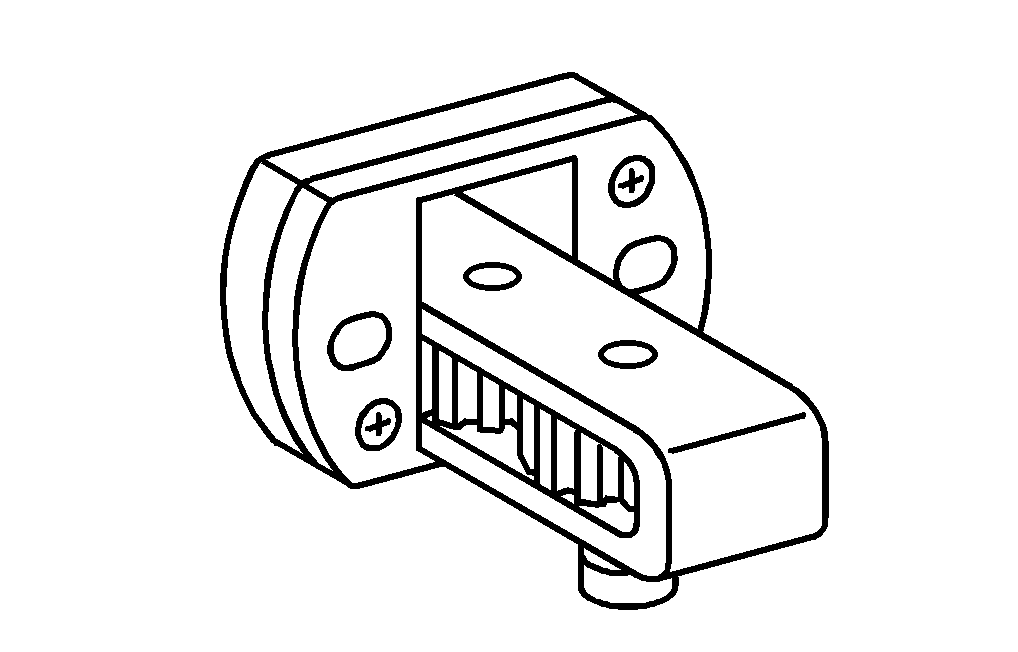

904 589 04 63 00
Cranking device
Wrench socket
422 589 02 09 00

W03.10-1047-11
1 Turn crankshaft until piston (1) is at bottom dead center.
2 Cover piston crown and crankcase with rags.
All bores on contact surface of cylinder crankcase must be closed using a stop plug.
3 Carefully remove combustion residues at the top land area (arrow) of the cylinder liner (2) using a scrape and remove with compressed air.
This avoids any damage to the piston rings when the piston (1) is removed.

W03.10-1112-12
4 Unscrew and remove connecting rod bolts (6) and remove connecting rod bearing cap (7).
The cracked (broken) separating surface must not be damaged; replace connecting rod (8) and connecting rod bearing cap (7) if necessary.
5 Push connecting rod (8) away from crankshaft connecting rod journals.
6 Remove connecting rod bearing shells and mark relative to connecting rod bearing cap (7) and connecting rod (8)
7 Push connecting rod (8) and piston out of cylinder liner and remove.
Counterhold cylinder liner and turn crankshaft if necessary. The cracked (broken) separating surface on the connecting rod (8) must not be damaged; replace connecting rod (8) and connecting rod bearing cap (7) if necessary. Do not tighten connecting rod bearing caps (7) fully on connecting rod (8) unless the connecting rod bearing shells are inserted.
8 Mark installation location on piston and connecting rod (8).
Make a direction arrow if the direction arrow on the piston crown is no longer visible. The direction arrow must be pointing forwards (in opposite direction to power output side).