41-060 Removal and installation of propeller shaft front axle on 4MATIC

P41-0008-56
Engine compartment cover or noise encapsulation |
remove and install. |
Propeller shaft clamping nut (70e) | loosen for approx. two turns, |
Propeller shaft (70) | remove from and mount on transfer case, 45 Nm. |
Sliding flange (70d) | screw from and on connecting flange (64) on front axle housing (50), 30 Nm. |
Propeller shaft (70) | remove, mount. Check flexible coupling (71) and centering sleeve (72) for wear and remove parts, if required. Grease cavities with approx. |

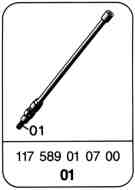

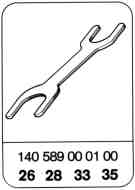
Special tools
Removal and installation
-------------------------------
1 Remove lower engine compartment cover or noise encapsulation.
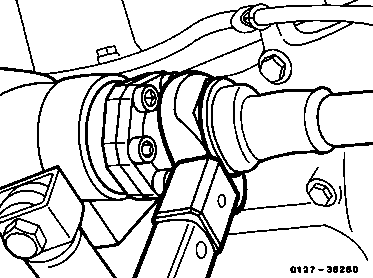
2 Loosen propeller shaft clamping nut for approx. two turns without sliding back rubber sleeve (sliding along).
Open-end wrench element 201 589 00 01 00.
Installation note
Tightening torque 30 - 40 Nm. Pay attention to correct seat of rubber sleeve.
A wrong tightening torque of clamping nut may result in humming noises caused by front propeller shaft.
0127-36280

3 Remove propeller shaft (70) on transfer case.
Installation note
Renew self-locking hex. nuts. Tightening torque 45 Nm.
141-34154
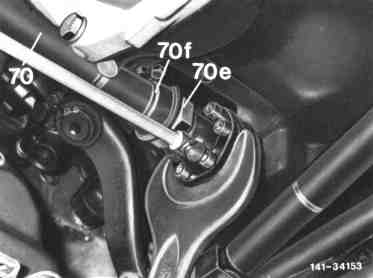
4 Unscrew sliding flange from connecting flange on front axle housing.
Note
Apply counterhold to connecting flange with open-end wrench WAF 55x65 140 589 00 01 00. Slide back unscrewed sliding flange by max. 15 mm only, to prevent any loosening from splining. If installation is offset, the propeller shaft is no longer balanced (mark the relative position of the components, if necessary).
Installation note
Renew self-locking hex. socket screws, tightening torque 30 Nm.
141-34153
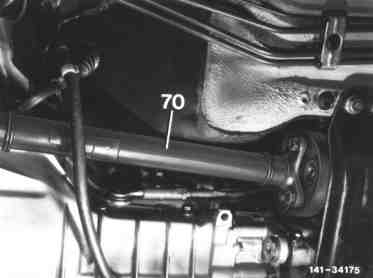
5 Remove front propeller shaft (70).
Installation note
Check flexible coupling and centering sleeve for wear and renew parts, if required. Grease cavities with approx. 6 g of grease (refer to Specifications for Service Products page 266.2).
6 For installation proceed vice versa.
141-34175