
Shown on removed transfer case (1) |
1 | Transfer case |
2 | Radial shaft sealing ring |
3 | Joint flange |
4 | Twelve-point collar nut |
P28.10-2334-11
Danger | Risk of death caused by vehicle slipping or toppling off of the lifting platform. | Align vehicle between vehicle lift columns and position the four support plates at the vehicle lift support points specified by the vehicle manufacturer. | |
Caution | Risk of injury to skin and eyes due to handling of transmission oil. Health risk caused by swallowing transmission oil | Wear protective gloves, protective clothing and safety glasses. | |
| Remove | ||
1 | Remove propeller shaft. | ||
2 | Attach retainer wrench with two screws to joint flange (3). | Retainer wrench | |
3 | Unscrew twelve-point collar nut (4). | For this purpose, counterhold joint flange (3). | |
4 | Remove retainer wrench. | Retainer wrench | |
5 | Remove joint flange (3). | Puller | |
6 | Remove radial shaft sealing ring (2). | | |
Dispose of radial shaft sealing ring (2). | |||
Removal and installation tool | |||
| Clean | ||
7 | Clean seat of radial shaft sealing ring (2). | Assembly cleaner | |
| Check | ||
8 | Check seat of radial shaft sealing ring (2) for damage and galling. | If damage or galling is visible, | |
| |||
replace transfer case (1). | |||
9 | Check joint flange (3) for damage and galling. | If damage or galling is visible, | |
| |||
replace joint flange (3). | |||
| Install | ||
10 | Coat sealing lips of new radial shaft sealing ring (2) with transmission oil. | ||
| Transmission oils (specification 235.1) | ||
11 | Position radial shaft sealing ring (2) in transfer case (1). | ||
12 | Install radial shaft sealing ring (2). | Press on radial shaft sealing ring (2) with drift until drift makes contact with the housing. | |
Drift | |||
13 | Grease teeth of joint flange (3). | Fill tooth spaces of joint flange (3) with grease. | |
Klueber Microlube GNY 202 | |||
14 | Attach joint flange (3) to transfer case (1). | ||
15 | Attach retainer wrench with two screws to joint flange (3). | Retainer wrench | |
16 | Screw on new twelve-point collar nut (4). | For this purpose, counterhold joint flange (3). | |
Nut, output flange to output shaft | |||
17 | Remove retainer wrench. | Retainer wrench | |
18 | Secure twelve-point collar nut (4) using a suitable tool. | ||
19 | Install propeller shaft. | ||
| Check | ||
20 | Check and correct transmission oil level. | ||
| Transmission oils (specification 235.1) | ||
Filling screw to transfer case | |||
Assembly cleaner | |||
Loctite 7063 (400 ml) cleaning spray | |||
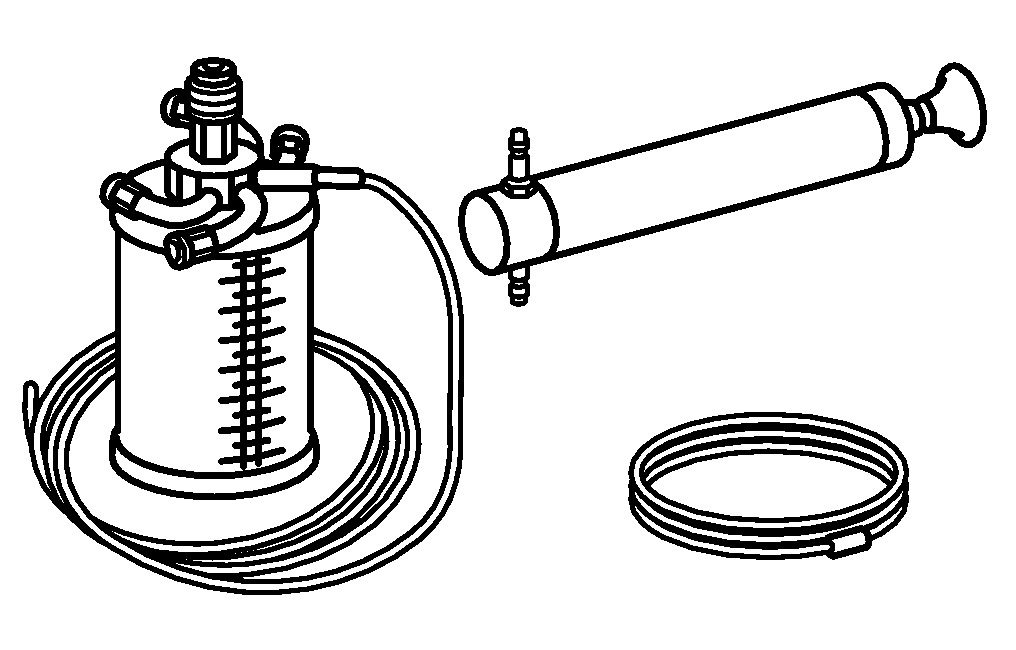
Hand pump | |||
Warning | Risk of accident from vehicle starting off by itself when engine running. Risk of injury (bruises and burns) resulting from working on the engine while it is being started or when it is running. | Secure vehicle to prevent it from starting off by itself. Wear closed and snug-fitting work clothes. Do not touch hot or rotating parts. | |
21 | Perform engine test run and check transfer case (1) for proper operation and leak tightness. | ||
Notes on evaluating leakages |



116 589 01 62 00
Removal and installation tool
210 589 00 71 00
Hand pump
000 589 65 33 00
Puller
717 589 00 31 00
Retainer wrench

470 589 14 15 00
Drift
Henviste dokumenter
- ah0000n001101a Oplysninger om vurdering af utætheder
- ar2810s010006ps
- ar2810s0100ps
- ar4110s0050pu
- as0000z000501a Fare for ulykke ved automatisk igangsætning når motoren kører. Fare for personskade på grund af knusning og forbrænding, hvis der arbejdes mens motoren startes eller kører
- as0000z001001a Livsfare, hvis køretøjet glider ned fra eller tipper på liften.
- as0040z000101a Fare for personskade på hud og øjne ved håndtering af gearolie. Sundhedsfare ved indtagelse af gearolie
- bb0040p023501a