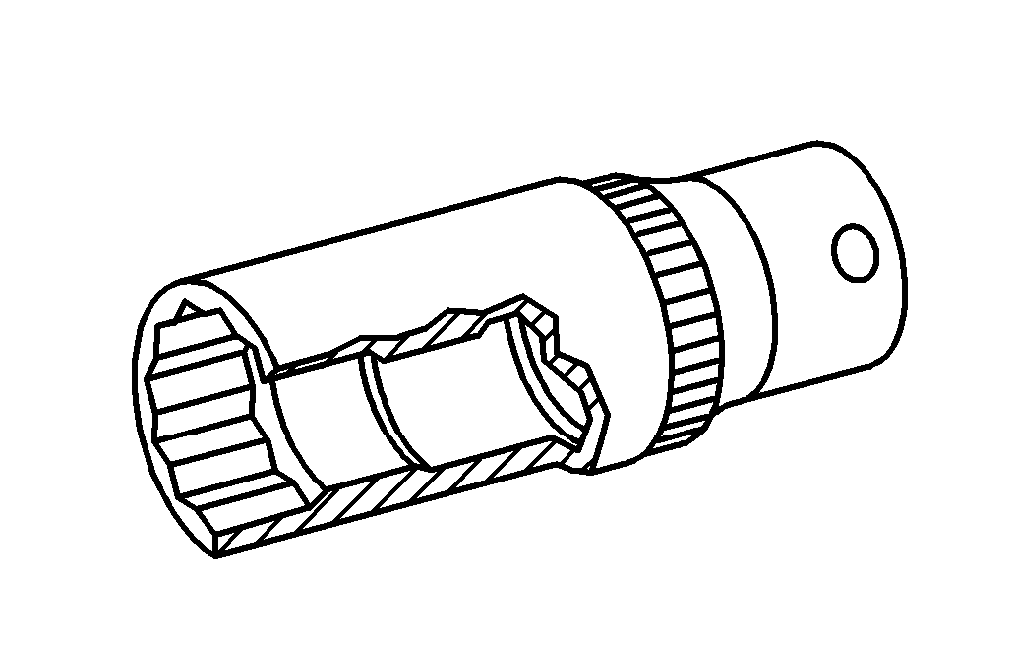
001 589 65 09 00
Socket wrench bit
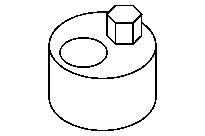
651 589 00 40 00
Counterholder
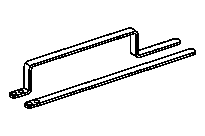
651 589 08 40 00
Counterholder
Do not use any electric or pneumatic power drivers to screw the bolts (2) securing the torque converter (3) in and out.
The threads in the drive plate can otherwise be damaged.
Model 447 with engine 651
The special tools counterholder 651 589 00 40 00 or counterholder 651 589 08 40 00 can be used to turn and counterhold the crankshaft.
Model 447, 448 with engine 274
The special tool socket wrench bit 001 589 65 09 00 or a suitable socket wrench bit (size 27) can be used to turn and counterhold the crankshaft.

Detach
1 | Remove cover (1). |
2 | Turn crankshaft until a screw/bolt (2) of torque converter (3) is visible in access opening. |
3 | Remove bolt (2). |
Counterhold the crankshaft. |
4 | Repeat operation steps 2 and 3 for the remaining bolts (2). |
The torque converter (3) is secured with a total of four bolts (2) which are screwed into the drive plate, each bolt offset by 90°. |
S27.20-4504-06
Install
5 | Align drive plate and torque converter (3) with each other. |
The hole pattern of the drive plate and torque converter (3) must line up. For this purpose, turn the crankshaft if necessary. |
6 | Screw in bolt (2). |
Replace bolt (2). |
7 | Screw in remaining bolts (2). |
Replace the remaining bolts (2). |
8 | Tighten bolts (2) in a crosswise sequence to 1st stage tightening torque . |
Turn the crankshaft until the screws/bolts (2) appear in the access opening, and counterhold the crankshaft. |
9 | Tighten bolts (2) in a crosswise sequence to 2nd stage tightening torque . |
Turn the crankshaft until the screws/bolts (2) appear in the access opening, and counterhold the crankshaft. |
10 | Tighten bolts (2) in a crosswise sequence to 3rd stage tightening angle . |
Turn the crankshaft until the screws/bolts (2) appear in the access opening, and counterhold the crankshaft. |
11 | Install cover (1). |