72 - 2403 Dismantling and assembling high rear door, left
Preceding work:
Removing high rear door (72-1931)

1
2
3
4
5
6
7
8
9
10
11
12
13
14
15
16
17
18
19
20
22
21
23
24
25
26
27
28
29
30
31
1 Collared hexagon bolt M6 2 Lock striker 3 Seal Coat with lubricant 4 Door leaf 5 Latch bolt guide 6 Guide sleeve 7 Allen bolt with washer M5 8 Clip 9 Upper latch bolt cover 10 Insert 11 Striker pin 12 Countersunk cross-head screw M5 13 Upper latch bolt 14 Lower latch bolt cover 15 Latch bolt guide 16 Insert | 17 Striker pin 18 Countersunk cross-head screw M5 19 Spacer element 20 Lower latch bolt 21 Latch bolt lock 22 Dowel sleeve Replace 23 Lock handle 24 Washer 25 Cross-head screw 26 Nut M6 27 Washer 28 Arrester bracket 29 Hexagon bolt with washer M6 30 Locking spring 31 Retaining bow |
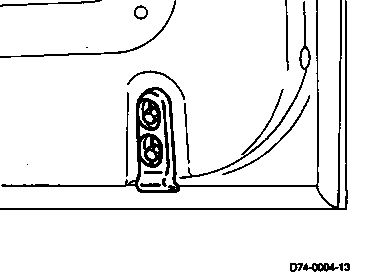
Dismantling
1 Unscrew lock strikers.

2 Remove door trim panel and rubber seal.

3 Remove door arrester (28).

4 Drive dowel sleeve (22) out of lock handle (23) using a drift and remove handle.

5 Remove clips (8) from upper and lower latch bolt covers (9 and 14) and remove trim covers.

6 Unscrew upper striker pin.

7 Unscrew lower striker pin.

8 Remove latch bolt lock (21) and disconnect both latch bolts (13 and 20).
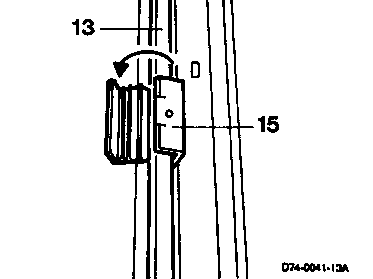
9 Open lower guide (15) of upper latch bolt. Remove both latch bolts.
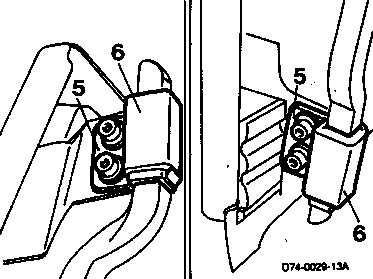
10 Unscrew upper and lower latch bolt guides (5).
Note
Check guide sleeves (6) for wear and replace if necessary.
11 Pull seal off door leaf and check for damage.

Installation note
The spacer elements (19) must be clipped in, otherwise the latch bolts will have too much play and will not engage properly in the lock pins.