20 - 3865 Removing and installing radiator
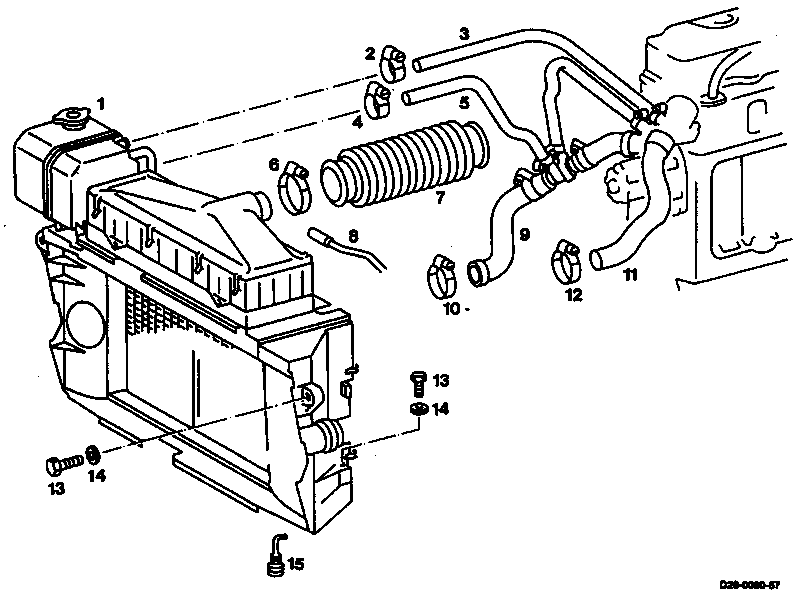
1 Radiator | |
2 Clip | |
3 Coolant hose (ventilation) | |
4 Clip | |
5 Coolant hose (feed) | |
6 Clip | |
7 Air intake hose | |
8 Vacuum line | |
9 Coolant hose (feed) | |
10 Clip | |
11 Coolant hose (return) | |
12 Clip | |
13 Hexagon bolt | |
14 Washer | |
15 Drain plug |

Special tools
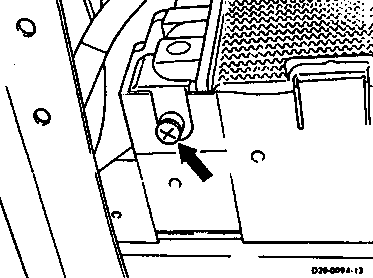
Removing, installing
-------------------------------
1 Detach center part of front end.
2 Drain coolant and collect.
Installation note
- Pour in coolant and check cooling system for leaks.
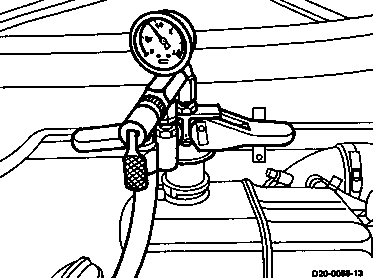
- Insert tester into the filler opening of the expansion tank.
- Connect compressed air hose to tester with tire inflation connection and test with a test pressure of 0.9 to 1.2 bar.
001 589 83 21 00
Note
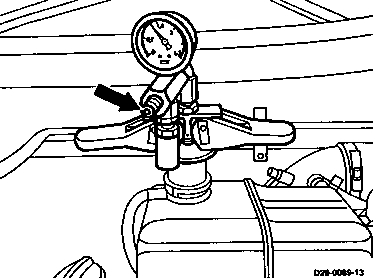
A safety valve is integrated in the tester to prevent the pressure in the cooling system rising beyond 1.2 bar.
- Check cooling system for leaks; the pressure indicated on the pressure gauge must remain at a constant level.
- After the test, release pressure in the cooling system through the valve (arrow) of the tester.
001 589 83 21 00
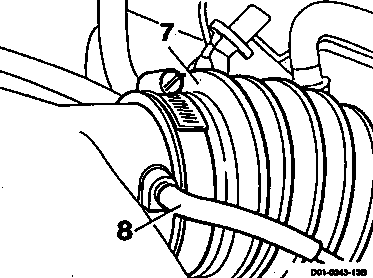
3 Detach vacuum line (8) for service indicator and air intake hose (7).
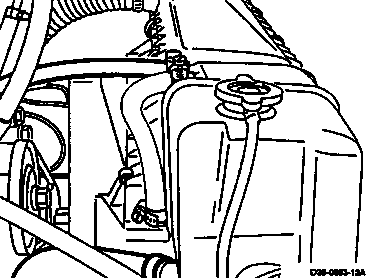
4 Detach coolant hoses at expansion tank and at radiator.
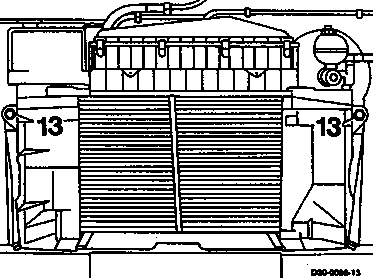
5 Unscrew securing bolts (13) for supporting bracket and take out supporting bracket complete with radiator, expansion tank and air cleaner.
6 Install in the reverse order.